
Since moving into our own home this summer, my kids and I have been having fun repainting, hanging shelves, and upgrading our furniture. As they picked their favourite colours to paint their rooms, I considered wallpaper to create a feature wall. When I saw the wall murals at PhotoWall, I was hooked. If you’ve also considered wallpaper, read on for my full wallpaper review and tips.
I received the wallpaper and paste mentioned in this wallpaper review; all opinions expressed remain my own. This post contains affiliate links; as an Amazon associate, I earn from qualifying purchases.
Ordering Wallpaper
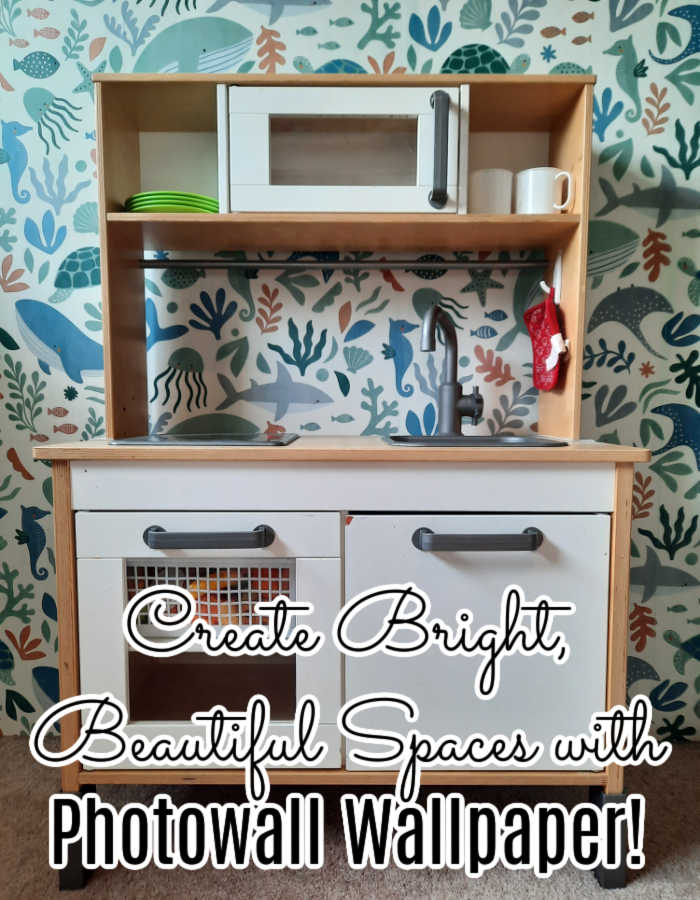
PhotoWall offers a huge variety of styles and prints to suit any taste and decor ideas. You can narrow your search by specific terms or just enjoy browsing the site to see what inspires you. Pearl and Joey love ocean animals, so I was immediately drawn to the aquatic scenes for them. I chose Spirit of the Sea as it was similar to colours they’d already chosen for their room (green and blue) and included some of their favourite sea animals.
Ordering their wallpaper for this wallpaper review was easy. I measured the width and height of the wall I wanted to paper. I chose a wall without any obstacles in it—no doors or windows to work the wallpaper around and not much furniture in front of it. Photowall advised adding a bit of extra space on either side to allow for mistakes, so I added a few more inches to my measurements and placed the order.
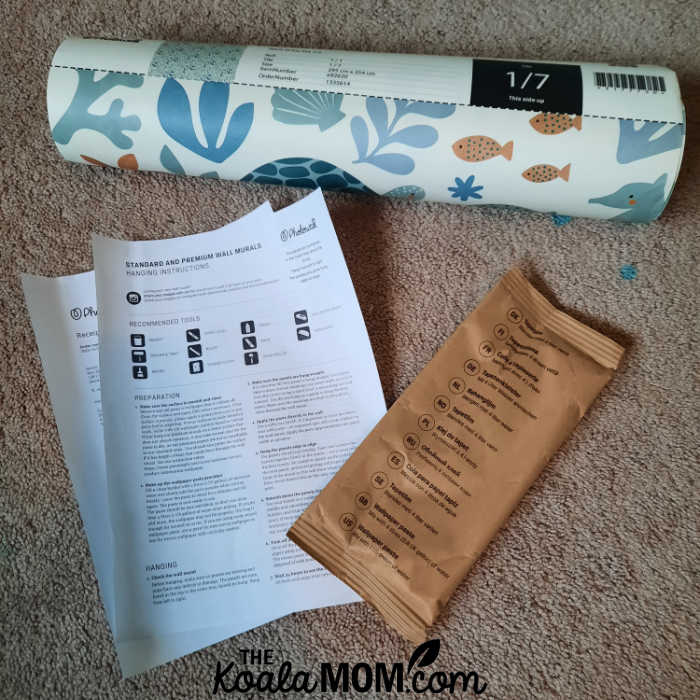
Within a week, a small box arrived on my doorstep. The wallpaper was here! The box included our roll of wallpaper, a page of instructions, and a packet of paste mix. I couldn’t wait to get started!
Preparing to Wallpaper
I picked a day when my 13-year-old, Lily, was home from school to help me do the wallpapering. It was very handy to have her artistic perspective on the wall, as well as an extra pair of hands to smooth the wallpaper and keep it straight. (She also took all the photos for this wallpaper review.)
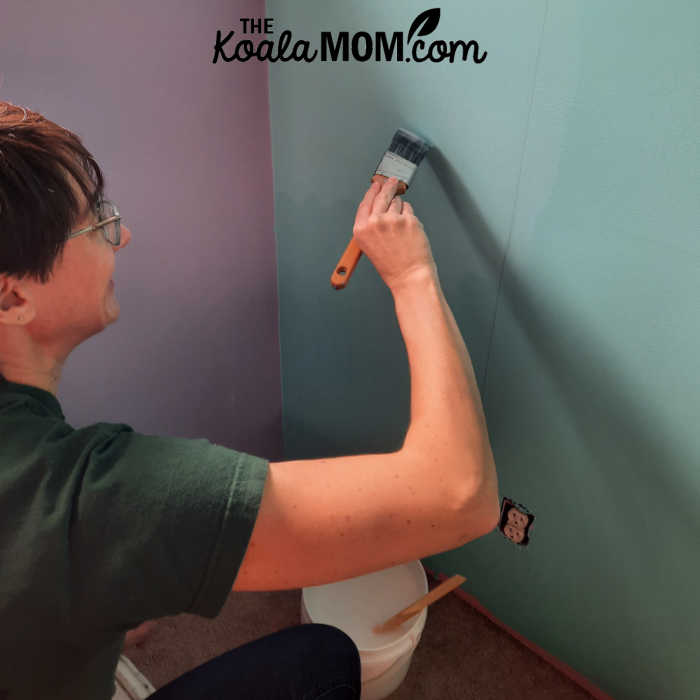
First, we prepped the room by moving all the furniture away from the feature wall. Then we spackled the holes in the wall (yes, we just moved in and repainted two months ago and promptly screwed things into the wall) and put a fan in the room to help the spackling dry faster. I read through the included instructions and also viewed the how-to video on the Photowall website.
I returned to sand the spackling and then used a cloth to dust and wash the wall. We tested a section of wallpaper on the wall to make sure that the previous colour (soft green) wasn’t visible through the wallpaper. Then I used a gallon bucket and a paint stick to mix the paste powder with water. It turned out a bit lumpy as I measured the water first and then poured the paste powder in on top. It very soon began to thicken, though, and earn its name.
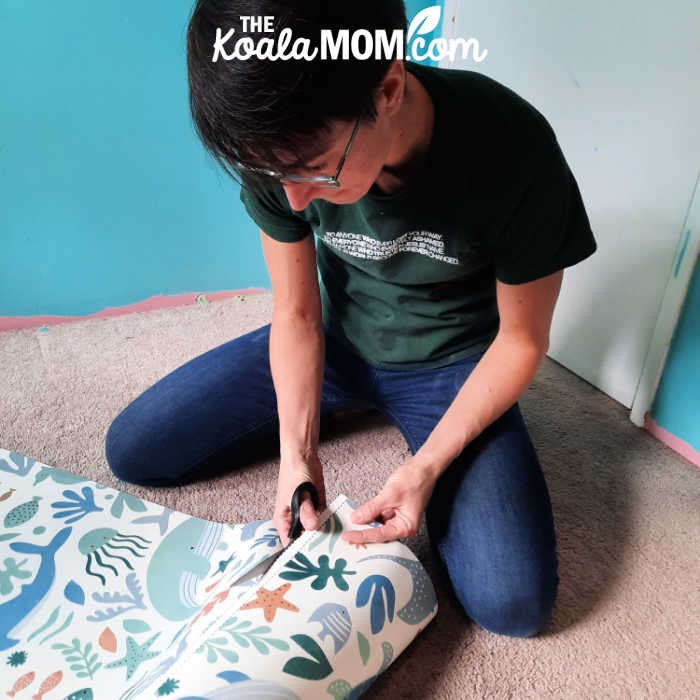
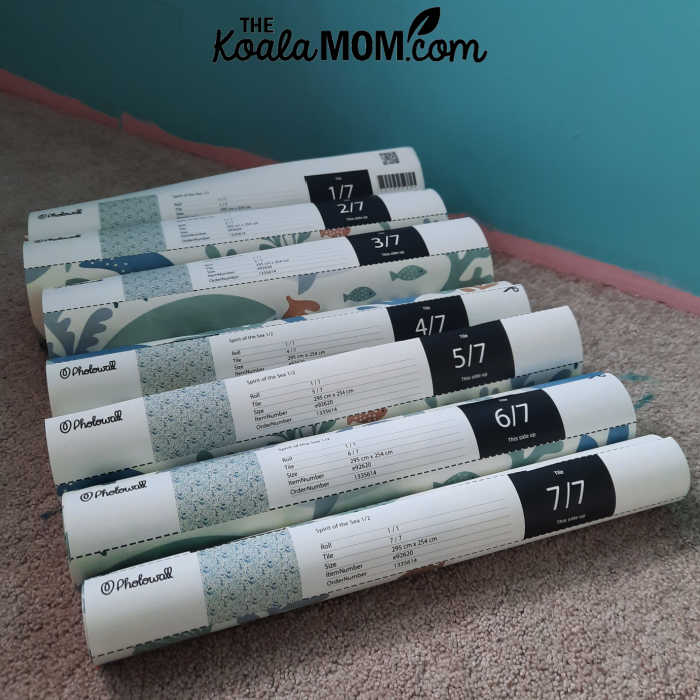
While the paste sat and thickened for the required five minutes, I cut apart the wallpaper sections. For our feature wall, we had 6.5 segments of wallpaper, which had been shipped as one roll. Each section of wallpaper was a few inches longer than the wall was high, giving us lots of space to line up the pattern and trim each edge. The sections were labeled from 1 to 7 so we knew which order to hang them in.
With the wallpaper sections cut, the paste mixed, and the wall prepped, we were ready to begin hanging wallpaper!
Hanging Our PhotoWall Wallpaper
I marked the width of a section of wallpaper on the wall, starting at the left corner, and then spread the paste over that section. The wallpaper paste had a thick, gooey texture but spread on the wall as easily as paint and fairly transparent.
Once the whole section was covered in paste, I stood on a stool to line up the top edge of the wallpaper while Lily pulled the bottom edge into place. When we were happy with the placement of the wallpaper, we smoothed it against the paste. This was, honestly, really fun as we began to see how the wallpaper looked on the wall (hint: AWESOME!).
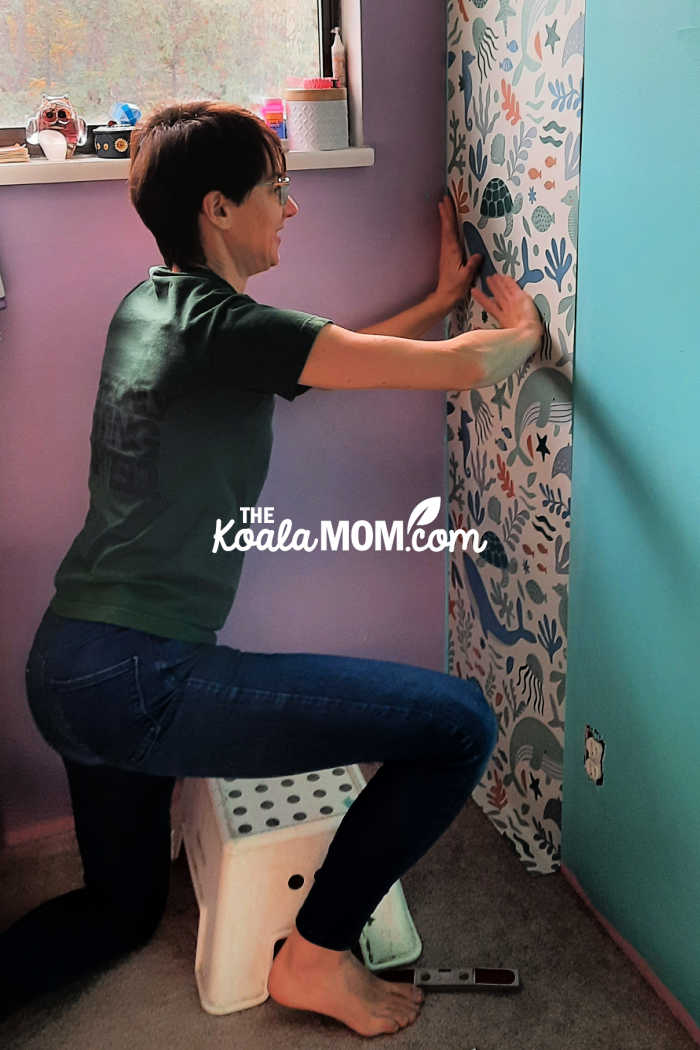
I found that the few extra inches of wallpaper at the top caused the top edge to begin to pull away from the wall. As soon as we were sure we had the wallpaper in the right spot and had smoothed most of it onto the wall, I used my knife and straight edge to cut the excess off the top, then pressed the wallpaper against the wall just under the ceiling. We then did the same thing at the bottom to ensure that the wallpaper was flat against the wall and sticking while the paste dried.

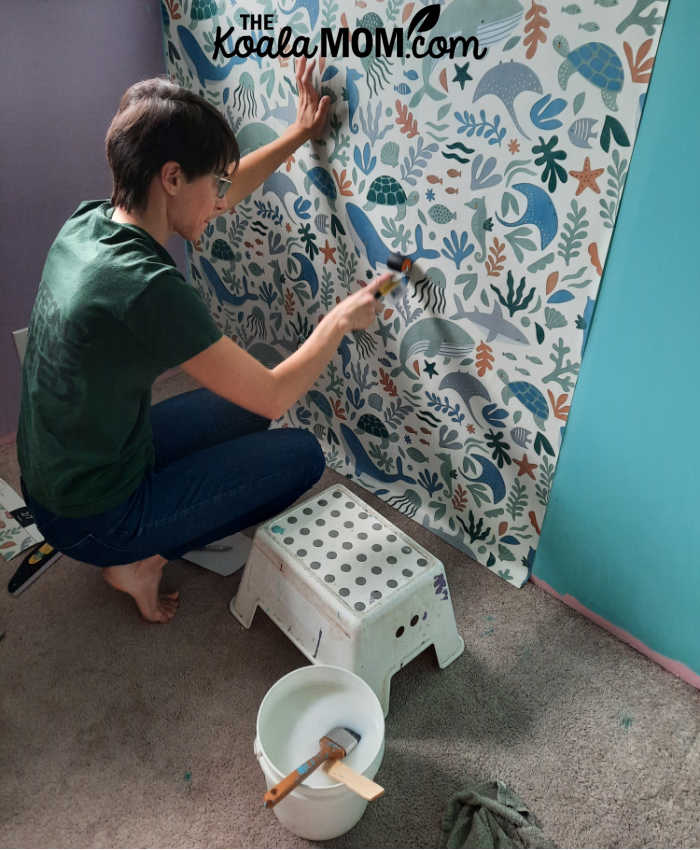
With the first section hung, we moved on to the second section. Here it was critical to line up the repeating pattern in the wallpaper, so it was helpful to have Lily checking the bottom while I checked the top. Getting the wallpaper in the exact right place beside the first section was a bit tricky—but the paste was pretty forgiving if we had to pull the section off and line it up again.
Once we had the wallpaper stuck to the wall, we used a wallpaper roller to smooth the edges onto the wall. We sometimes had to use the paintbrush to slide extra paste under the edge, and then wipe the seam with a damp cloth to get the excess paste off, and roll it again. We also thoroughly checked the entire section to make sure we’d smoothed out any air bubbles under the wallpaper.
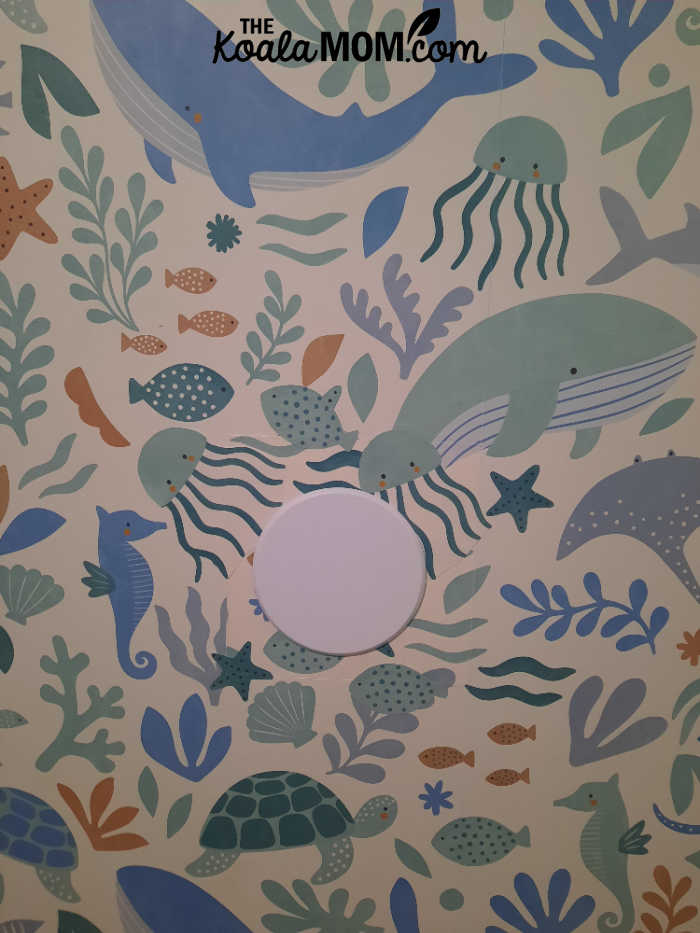
The only thing we had to go around on the wall was an electrical outlet. I’d taken the cover off when we were preparing the wall for painting. We hung the paper over the wallpaper and then I carefully used my knife to cut around the outlet. This let us smooth the wallpaper against the wall around the outlet. Then I put the outlet cover back on immediately, as I figured it would help hold the wallpaper against the wall.
The Finished Feature Wall
Finally, we’d hung and trimmed and rolled and smoothed all seven sections of wallpaper. It took Lily and I about half a day to get it up, including the time at the beginning waiting for the spackling to dry. The finished wall looks absolutely fantastic. I tried really hard to get a video of Joey’s and Pearl’s reaction to the wallpaper, but they ran into their room too fast. They were delighted with the ocean scene and immediately began pointing out their favourite animals.
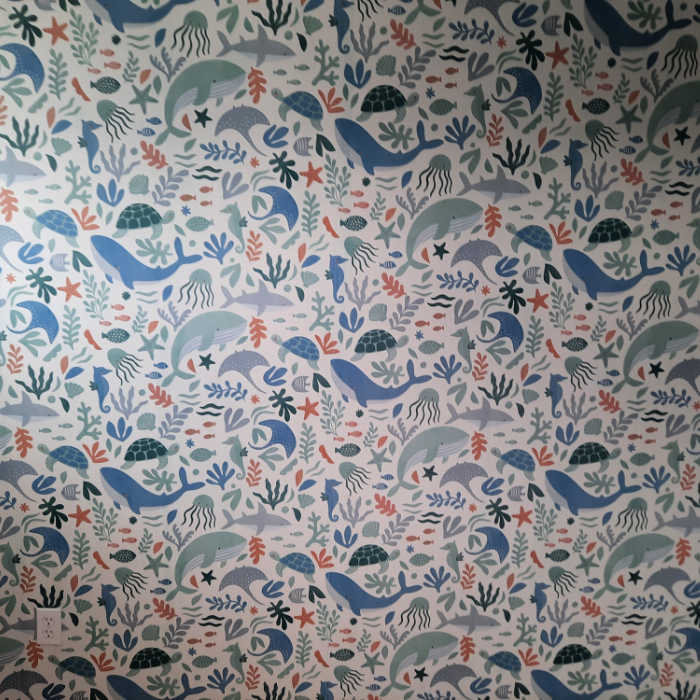
Can you spot that electrical outlet?
Paint vs. Wallpaper
This was the first time I’ve ever attempted to wallpaper and I was honestly very impressed with how easy it was and how awesome the wall turned out. The process for preparing a wall to wallpaper was similar to painting; no matter how you decorate your wall, you want a clean, smooth surface to begin.
Although we did keep a wet rag close by to wipe up paste drips or excess, wallpapering is less messy than painting. While I’ve put two (or three) coats of paint on most of the walls in the house, we only needed one layer of wallpaper. And because the paste is behind the wallpaper, I didn’t have to wait for wet paint to dry before letting the kids back into the room or re-installing outlet covers.
What You Need to Wallpaper
Photowall sent me the wallpaper and paste required to hang it. They also had a wallpaper tools kit that I could have ordered, but chose not to as I already had several of the tools on hand (from painting and other home repair).
What you’ll need for wallpapering:
- wallpaper
- paste
- stool
- sharp utility knife
- damp cloth
- trim guide
Handy but optional tools include:
- long level
- tape measure / yardstick
- wallpaper roller
Are you thinking about wallpapering a wall (or entire room) in your home? Check out all the great wallpapers at Photowall!
Not quite ready to tackle wallpapering? You can also order canvas prints and posters from Photowall! This is a great way to display your favourite memories on your walls.
Let me know if you found this wallpaper review helpful!
18-Month Update
The wallpaper in my kids’ room continues to look amazing. We’ve gotten so many compliments on how bright and fun it is. I’ve been impressed that it’s still really well stuck to the wall, as I was worried that the edges would start to come unglued. For a long time, I was reluctant to hang anything on the wall, as I didn’t want to make any holes in the beautiful wallpaper. I did eventually hang a shelf on that wall for the kids. However, I never got around to putting a doorstop back on the wall…
… and my son bashed a hole in the wall with the door handle. It was at first a small hole and I tried to keep a heavy yoga ball behind the door as a doorstop. However, the yoga ball was too tempting to roll around the room, and the hole got bigger. My love and I finally tackled it one evening while working on a few other home repair projects. As we began cleaning up the hole to fix it, we realized this wasn’t the first time the hole had been fixed. There was already evidence of repairs there.
We got the hole spackled and repaired. And then my son banged through his door and the handle went straight through our patch. My love went off to the hardware store for a sturdier patch, which required us to cut a larger hole in the wallpaper to repair the wall. I collected all the leftover scraps of wallpaper, but because Photowall had done such a good job of sending me exactly what was needed for the wall, there wasn’t much leftover with which to patch the wall. My love carefully taped off the wallpaper while he spackled, sanded, and repainted the wall.
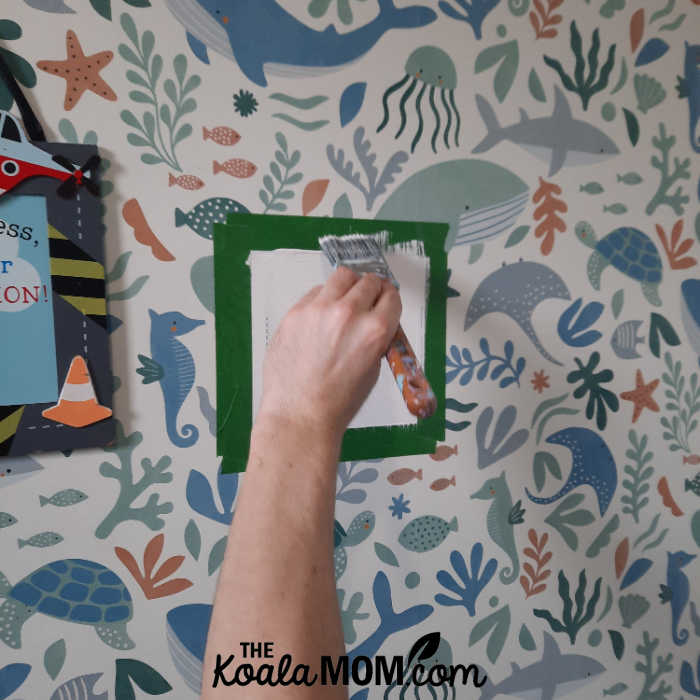
The wallpaper made it super easy to clean the small bits of spackling or paint that strayed outside the area we were fixing. Then we removed the paint and began trying to fit the wallpaper over it. I ended up cutting three rectangles to fill the hole—one that matched and two that were as close as we could get. I used ModPodge to glue the wallpaper back on, as I didn’t have anymore wallpaper paste. Then I cut a few animals out of the wallpaper, and glued them over the corners and seams to help hide our patch job. Finally, we installed a good door stop on top to protect the rest of the wall.
Overall, I’m still really happy with the wallpaper. I wish I had installed the door stop immediately to protect the wall from the door handle, but patching it was pretty quick and easy (despite the size of the hole we had to fix). I still love how beautiful the wallpaper looks and how easy it is to clean.
No Responses Yet