
One of my kids’ absolute favourite activities is playing with play dough. Over the years, from the time my oldest was a toddler to now, this has been hands-down the best indoor activity. I’ve experimented with various homemade play dough recipes over the years and now have my own favourite. It’s an adaptation of Mama Papa Bubba’s best scented no-cook play dough recipe. I don’t always have the ingredients she uses in my house, so I experimented with a few substitutions and came up with an easy peasy no fail play dough recipe.
This post contains affiliate links; as an Amazon associate, I earn from qualifying purchases.
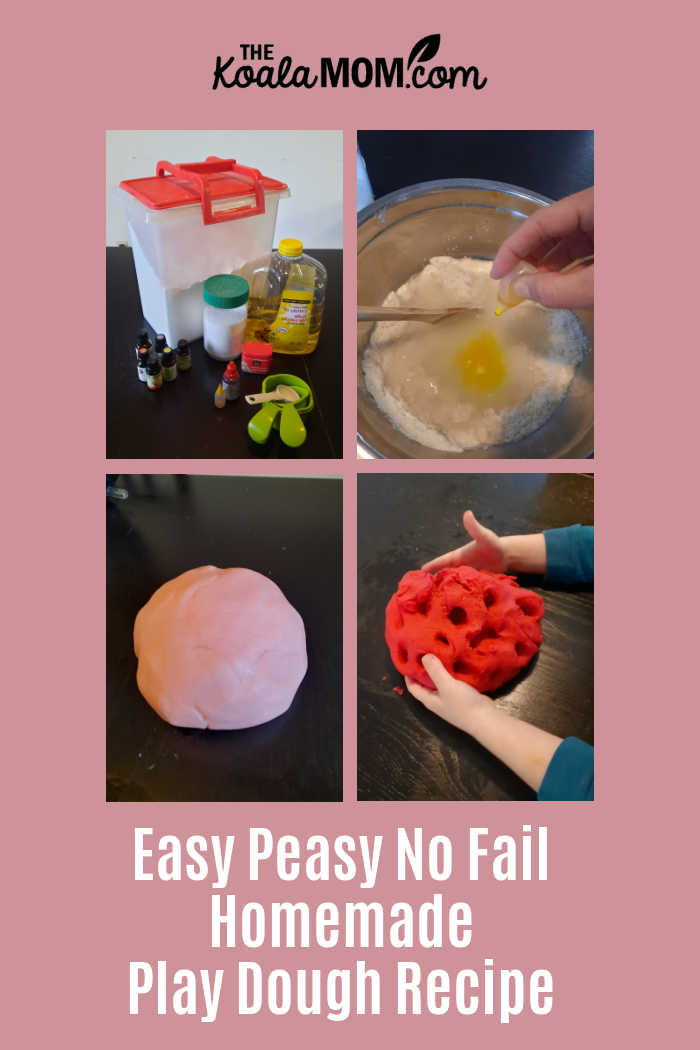
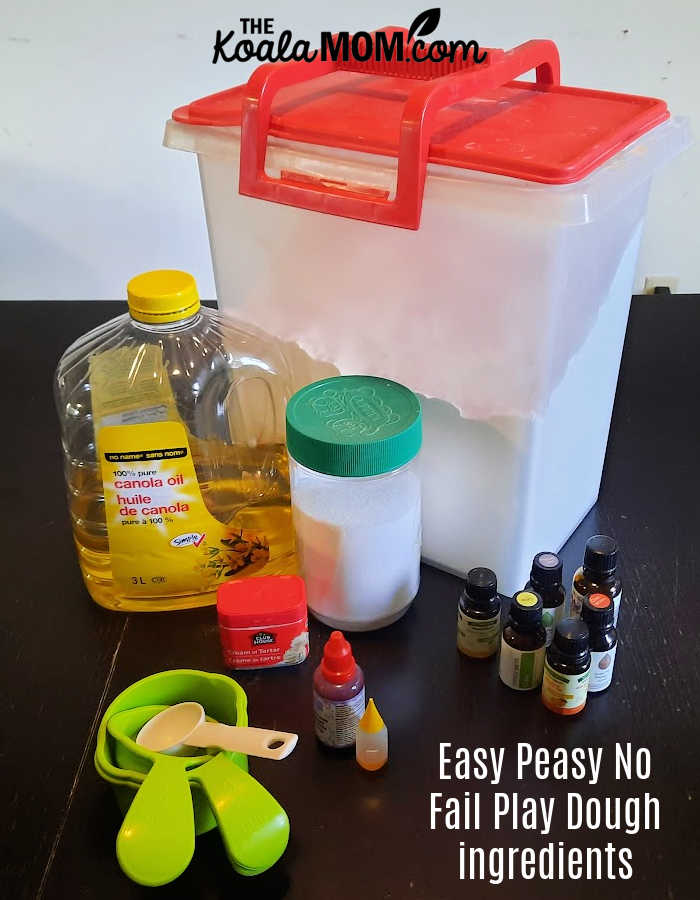
Easy Peasy No Fail Play Dough Recipe
- 1 cup white flour
- 1/4 cup table salt
- 1 tbsp cream of tartar
- 2 tbsp vegetable oil
- 3/4 cup of boiling water (measured in a dry measuring cup)
- essential oils
- food colouring
Psst… all these ingredients are edible so if your child is in the habit of chewing on their toys or tasting everything, this play dough is perfectly safe. Make sure to choose edible essential oils or use less if your child does tend to eat the play dough. Most will dislike the taste because of the high salt content, but some seem to eat it anyway.
How to Make Homemade Play Dough
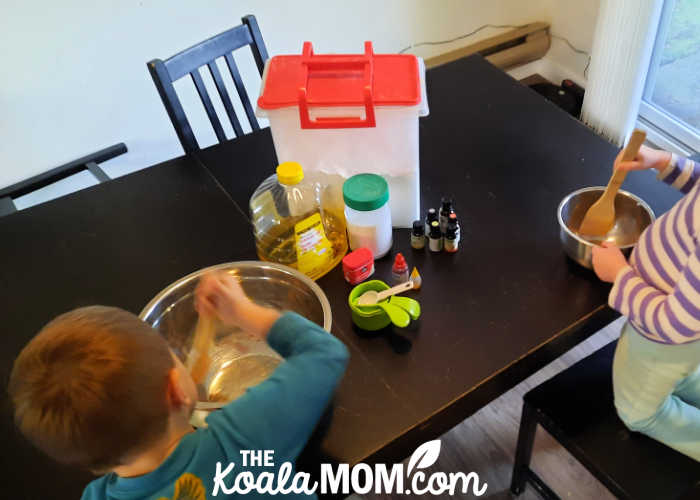
I start making play dough by filling the kettle with water and turning it on, then assembling all the tools and ingredients.
My kids usually each like to make their own batch of play dough, so they can choose their own scents and colours. I get out a stainless steel mixing bowl and a wooden spoon for each of them. We line these up on the table and then, like an assembly line, I add the ingredients one at a time while they mix it up. Recently, Pearl and Joey wanted new play dough so we mixed up a couple batches.
First, we mix up the flour, salt and cream of tartar. The cream of tartar here is essential to smooth, non-sticky play dough. Don’t leave it out! I highly recommend buying it in bulk, as the tiny containers you get at most grocery stores will only make a couple batches of play dough. Plus, you can use it for baking and other crafts like bath bombs too.
Next, we add the vegetable oil (whatever you have in the cupboard) and essential oils. Essential oils are, obviously, oils, so they mix well with the vegetable oil and don’t clump this way. Some of my kids’ favourite essential oils include lavender, rose, lime, cinnamon, and peppermint. Usually I get out several options for them and they sniff each and decide which one they want to add. I add about 10 drops per batch but you can adjust this depending on how much scent you like.
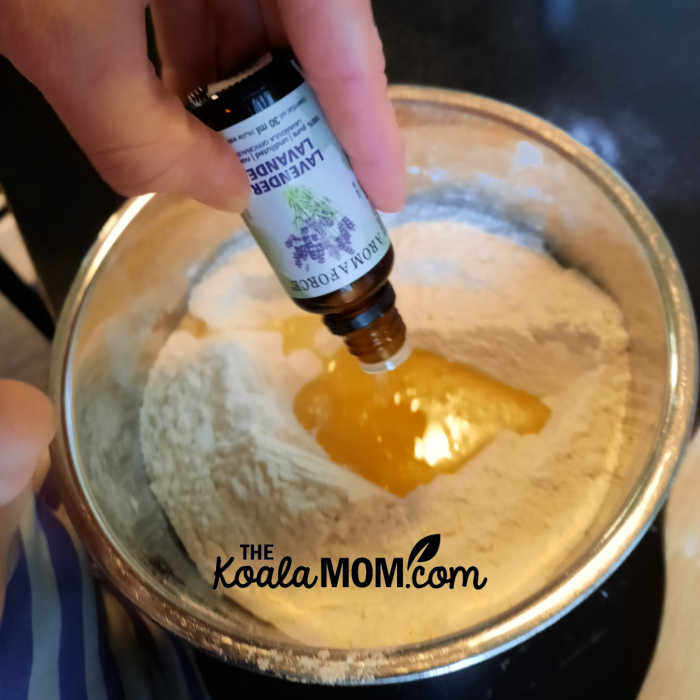
Mix the oils into the flour. This will create a somewhat lumpy texture but that’s okay—it will get smooth once you knead it later.
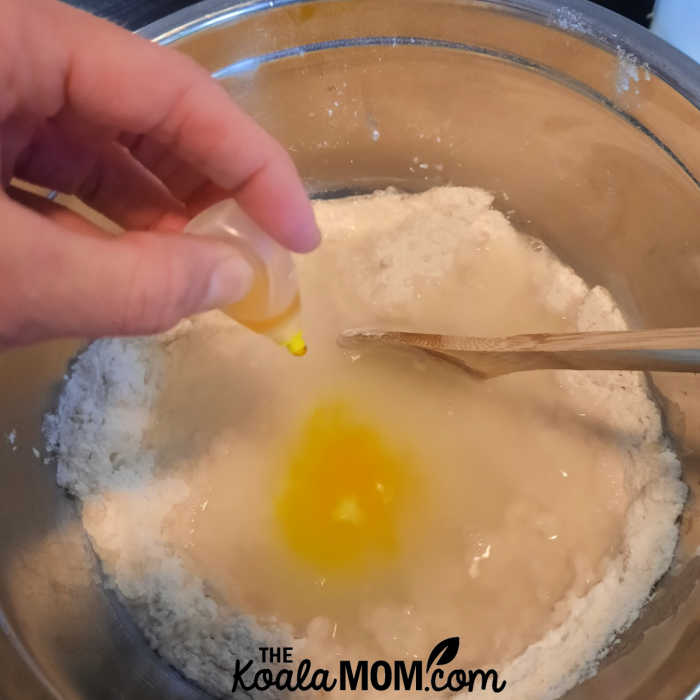
Next, I have my kids stand back while I get the kettle. Use a dry measuring cup to measure the water and pour it into a well in the flour. Let the water sit there while you add a few drops of food colouring (which is usually water-based rather than oil-based, so dissolves well in the boiling water). Again, how much food colouring you add depends on how much colour your child wants in their play dough. Some of my kids like playing with mixing colours to create fancy teals and purples, but we often stick to the primary colours too.
I then stir the boiling water into the flour. It will quickly get tough; keep stirring. Once it seems to be forming a ball around the spoon, I scoop the play dough onto the table. It may seem sticky at first, and have some lumps in it, but as you knead it, it should get softer and smoother. It will be very warm at first but honestly I love this part of making play dough—it’s sort of like getting a warm hand massage.
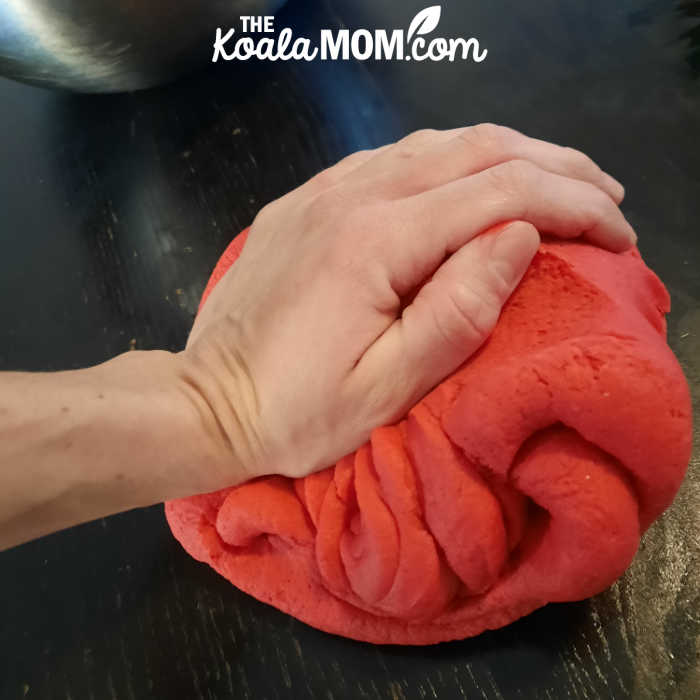
The play dough will cool as you knead it. Usually, when I start kneading it, my kids really want to get their hands on it, but quickly agree its too hot and let me knead it. The play dough isn’t hot enough that it will burn anyone but they’re happy to let me knead for a while until it’s smooth and ready to play with. Once it stops sticking to the table (and the next kid is clamoring at me to knead their play dough), I hand the ball of play dough over to the child who helped make it.

More Play Dough Fun
Store your homemade play dough in a Ziploc bag or air tight container. I usually squeeze all the air out of the bag after squishing the play dough in as much I can. We’ve had homemade play dough last for months this way. However, if the kids don’t clean it up immediately after playing with it, or drop too much on the floor, it starts to get stiffer and dirtier. And then we throw it out and make more play dough!
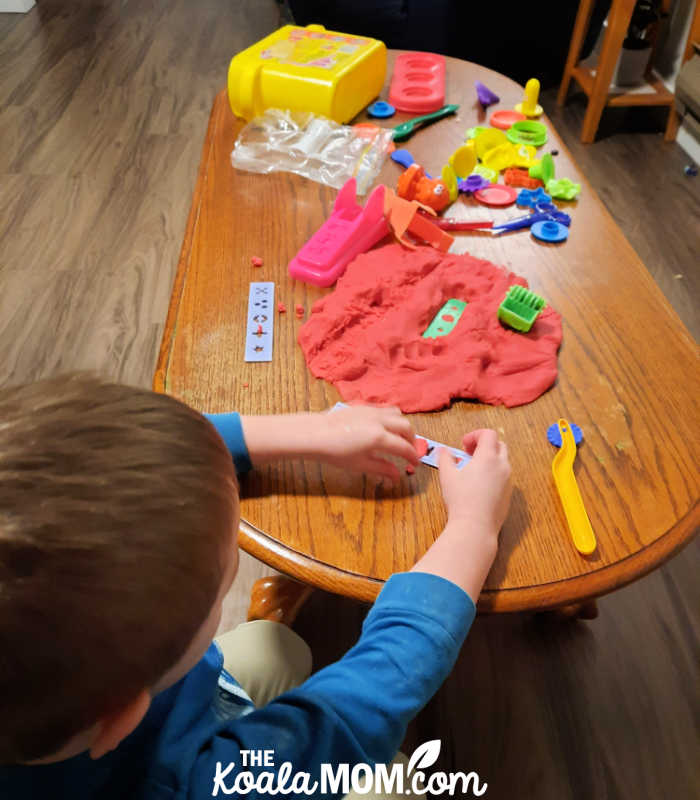
Even my very busy 5-year-old will play for most of the morning with his play dough and various toys. Mamma Papa Bubba has some great ideas for play dough kits with various themes, from unicorns and dinosaurs to books like Little Blue Truck and movies like Star Wars. I’ve never been quite that organized with our play dough, by my little guy does get creative with what toys he adds to his play dough. Sometimes his plastic dinosaurs stomp around in the play dough and other days his construction equipment works at making roads and hills. His older sisters usually like making food and bringing me cupcakes and cookies to “eat.” However they play, I love listening to their chatter and seeing their creativity.
No Responses Yet