
A fresh manicure can make you feel put together, even on a hectic school-run morning. Salon visits add up quickly, and finding a free hour can feel impossible. The good news? Pampering and relaxation doesn’t have to require a trip to the salon or an hour of your valuable time. You can get neat, polished results at your kitchen table.
Most at-home manicures fall apart at the very first step: shaping. A rough edge snags clothing, chips polish, and makes even a perfect color look sloppy. Once you master filing, everything else gets easier.
This guide covers the tools you need and how to pick the right file. You will also learn the technique professionals rely on, plus how to prep, polish, and keep your kit clean.
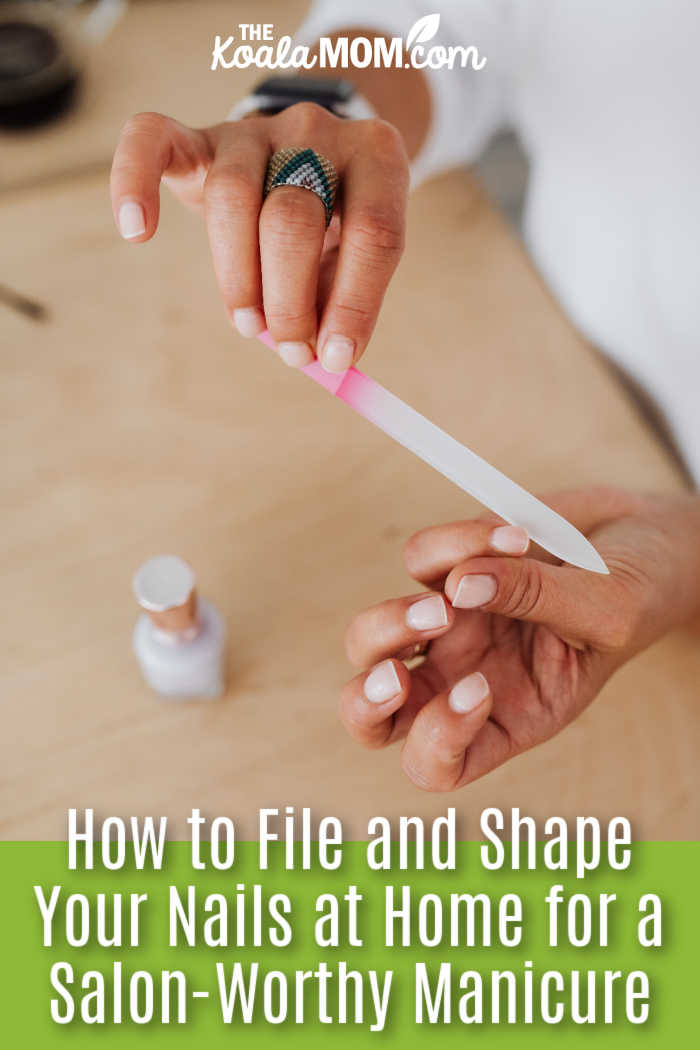
Gather the Right Tools Before You Start
A good manicure starts with a well-stocked kit. You don’t need a salon’s worth of equipment, but a few basics make a real difference. Keep everything in one small pouch or caddy so you can grab it quickly.
Your Basic At-Home Manicure Kit
- Nail File: This tool shapes the free edge and smooths rough spots. You will likely want two or three grits for different jobs.
- Buffer: A buffer smooths ridges on the surface of the nail. It also gives bare nails a soft, natural shine.
- Cuticle Pusher: A pusher gently moves the cuticle back to create a clean polish line. Look for one with a rounded or flat edge.
- Base and Top Coat: A base coat helps polish grip and can reduce staining. A top coat seals and protects your color.
- Lint-Free Wipes and Remover: These clear away old polish and natural oils before you paint.
Why Pro-Grade Tools Are Worth a Look
Drugstore kits work in a pinch, but their files often wear down fast. A professional supplier gives you more choice. F.O.X Nails, for example, mainly serves salons and nail technicians. Anyone setting up a small at-home nail studio can also order from them.
Pick the Right Nail File for Your Nails
Not all files do the same job. The number printed on a file, called its grit, tells you how coarse or fine it is. Lower numbers mean a rougher surface, while higher numbers mean a smoother one.
What Grit Numbers Mean
- 80 to 100 Grit: Coarse files like these shape and shorten acrylic or gel enhancements. They are too harsh for natural nails and can cause damage.
- 180 Grit: This medium option suits most natural nails. It shapes gently without shredding the edge.
- 240 Grit and Higher: Fine files smooth and refine the edge after shaping. They also work well for quick touch-ups between manicures.
Many files carry two numbers, such as 100/180. Each side has a different grit, so one tool can handle two jobs.
File Types to Know
- Emery Boards: Classic emery boards are cheap and easy to find. They are porous, so treat them as personal or disposable.
- Mineral Files: A sturdy core is covered with an abrasive coating. They come in straight and crescent shapes.
- Laser Files: These metal tools have a laser-etched surface. You can wash and disinfect them, so they last a long time.
- Sponge Buffers: Soft, flexible blocks smooth the surface and edges. They bend with the curve of your nail.
If you want to test a few grits and shapes, a professional range offers more variety than most store shelves. The F.O.X Nails collection includes grits from 80 to 240 in straight and crescent shapes. You will also find emery boards, sponge buffers, and multi-packs. Multi-packs make sense if you swap out files often.
Master the Filing Technique
Technique matters more than the tool itself. Even a great file can cause peeling if you saw back and forth.
Prep Before You File
Always file dry nails. Wet nails are softer and more likely to bend, tear, or peel. Remove old polish first so you can see the true shape of each edge.
File in One Direction
Move the file from the outer side toward the center of the tip. Lift it, return to the side, and repeat. Then switch sides and do the same. This gentle motion reduces fraying and helps prevent splits.
Pick a Shape that Suits You
- Square: A straight edge with crisp corners looks clean and tidy. It works well on short nails.
- Squoval: This shape softens square corners slightly. Many people find it snags less often.
- Oval: Rounded sides and a curved tip can make fingers look longer. It flatters most hand shapes.
- Almond: Tapered sides meet at a soft point. This shape suits longer nails best.
Avoid filing too deep into the sides. That can weaken the nail and lead to breaks.
Regular manicures aren’t just about making your nails look good; they can also help keep your nails and the surrounding skin healthy. Gently caring for your cuticles, moisturizing your hands, and keeping nails neatly shaped can help prevent hangnails and painful snags.
Prep and Polish Like a Pro
Your shape is done, so now you can move on to the surface. Careful prep helps polish last longer and look smoother.
Care for Your Cuticles Gently
Soak your fingertips in warm water for a few minutes, then pat them dry. Use your pusher to gently ease the cuticle back. Skip the clippers, though. Your cuticles act as a barrier against infection, so don’t cut them.
Buff, Cleanse, and Paint
- Buff Lightly: A few passes with a buffer smooth surface ridges. Too much buffing thins the nail, so keep it brief.
- Cleanse the Surface: Swipe each nail with remover to clear oils. Polish grips a clean surface far better.
- Apply Thin Coats: Start with a base coat, then add two thin coats of color. Thin layers dry faster than one thick layer.
- Seal the Edge: Run your top coat brush along the tip of each nail. This step, called capping, helps prevent early chips.
Keep Your Tools Clean and in Good Shape
Clean tools protect your nails and skin. Wash metal files with warm, soapy water, and let them dry fully. You can also wipe them with rubbing alcohol for extra peace of mind.
Emery boards and sponge buffers absorb dust and debris. You cannot clean them as thoroughly, so replace them once they feel smooth or look worn. Keep these items for your own use, too.
Store your kit in a dry, closed container. Moisture and dust shorten the life of most tools. A tidy kit also speeds up your next session.
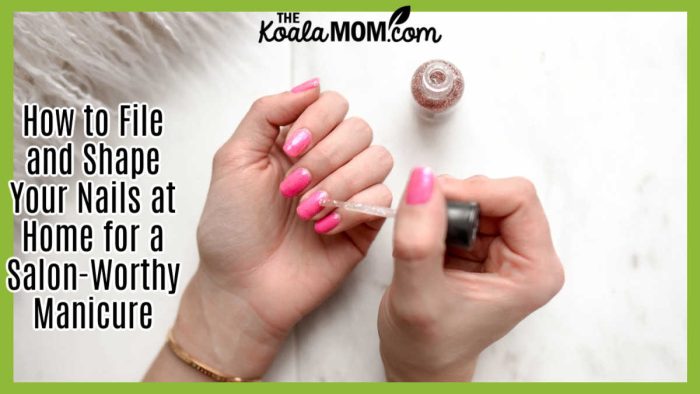


A neat at-home manicure comes down to a few simple habits. Pick the right grit, file dry nails in one direction, and keep the sides gentle. Thin coats and a capped edge help your color last.
Start with a basic kit and practice on a quiet evening. Your first attempts may take a little longer, and that is fine. Your hands will grow steadier with each session. Soon, a salon-worthy finish will take just a few minutes.
Once you’ve mastered it, plan a ladies’ night and invite a few friends over to chat and catch up while spending some time on self-care together!
No Responses Yet