


My dad is a huge fan of wood furniture. Most of the furniture in our house growing up was hardwood, and much of it was also made by him. Even our couches had wooden arms, and Dad was always passing around coasters whenever we took a drink with us into the living room.
It was hammered into my head that nothing sat on the wood without some sort of protection!
So I love this idea for a useful kids’ craft: have your children make their own set of tile coasters.
This is one of those kids’ crafts that is both fun to make and actually useful when you’re finished. Instead of making something that gets put on a shelf and forgotten, your children can create a set of coasters that your family can use every day.
And because the tiles are inexpensive and the decorating possibilities are almost endless, this is a great craft for kids who enjoy choosing their own colours, patterns and pictures.
Supplies Needed
(Affiliate links included below.)
- 4 x 4 white ceramic tiles
- Scrapbook paper, tissue paper, wrapping paper, child’s artwork, etc.
- Mod Podge
- Foam brushes
- Scissors or a paper cutter
- Clear acrylic finish spray
- Adhesive felt circles
The basic idea is simple: cut your paper to fit the top of the ceramic tile, then use Mod Podge to attach it to the tile and seal it. Once the finish has dried, add felt circles to the bottom so the coaster won’t scratch your table or other furniture.
Hop over to Ordinary Lovely for the complete instructions (and pictures!) for making these DIY tile coasters.
Get Creative with Your Designs
One of the things I like about this craft is that you’re not limited to scrapbook paper. You can let your kids choose whatever fits their personality or the person they’re making the coasters for.
Scrapbook paper is an easy choice because there are so many colours and patterns available, but you could also use tissue paper, wrapping paper, origami paper or even your child’s artwork. A set of coasters made from your child’s drawings would make a particularly fun homemade gift for grandparents.
Kids could also make a set of coasters to match their bedroom or playroom, or create a set as a Christmas, birthday or Mother’s Day gift. Older children could experiment with combining different papers or creating a coordinating set of four designs.
Because you’re working with ceramic tiles, an adult should handle the clear acrylic finish spray and any other part of the project that requires good ventilation or extra care. Younger children can help choose and cut the paper and apply the Mod Podge with supervision.
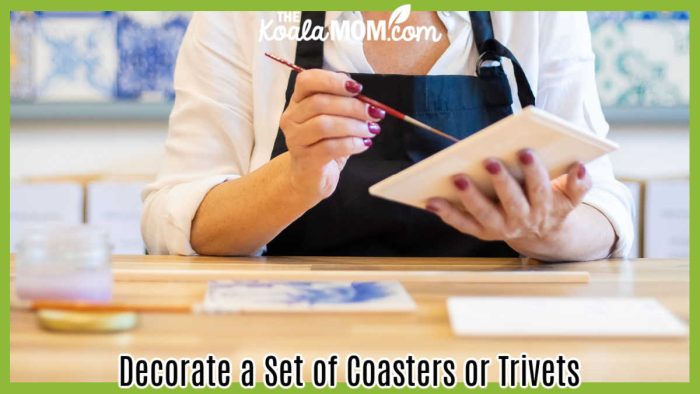
Make Tile Trivets
You don’t have to stop at coasters, either. You could use the same basic idea with larger ceramic tiles—such as 6 x 6 or 8 x 8 tiles—to make trivets for use in the kitchen or on the dining room table.
Larger decorated tiles could also simply be used as kitchen or dining room decor. This gives older kids another opportunity to create something practical for your home rather than another craft that ends up in the recycling bin a few months later.
And if you grew up in a house like mine, where everyone knew that nothing goes on the wood without a coaster, you can never have too many!
Cost: $20
Difficulty: Intermediate (suitable for ages 5+ with adult help)
This craft is part of my 31 Days of Useful Kids’ Crafts series, featuring kids’ crafts that aren’t just fun to make but also have a practical purpose.
No Responses Yet