


If you live in Canada like I do, you know that winter can be hard on just about everything you leave outside—including your garden tools. By the time spring rolls around, that shovel or pair of pruners that looked perfectly fine in October can be showing rust, cracked handles, or other signs that it didn’t enjoy its winter vacation.
The good news is that getting your garden tools ready for winter doesn’t have to be a huge project. A little cleaning, drying, oiling, and organizing before the snow arrives can make a big difference come spring.
The basic rule is simple: clean your tools, dry them thoroughly, protect the metal, and store everything somewhere dry and protected. Moisture is generally a bigger concern than cold temperatures themselves, especially if your tools are spending the winter in an unheated shed.
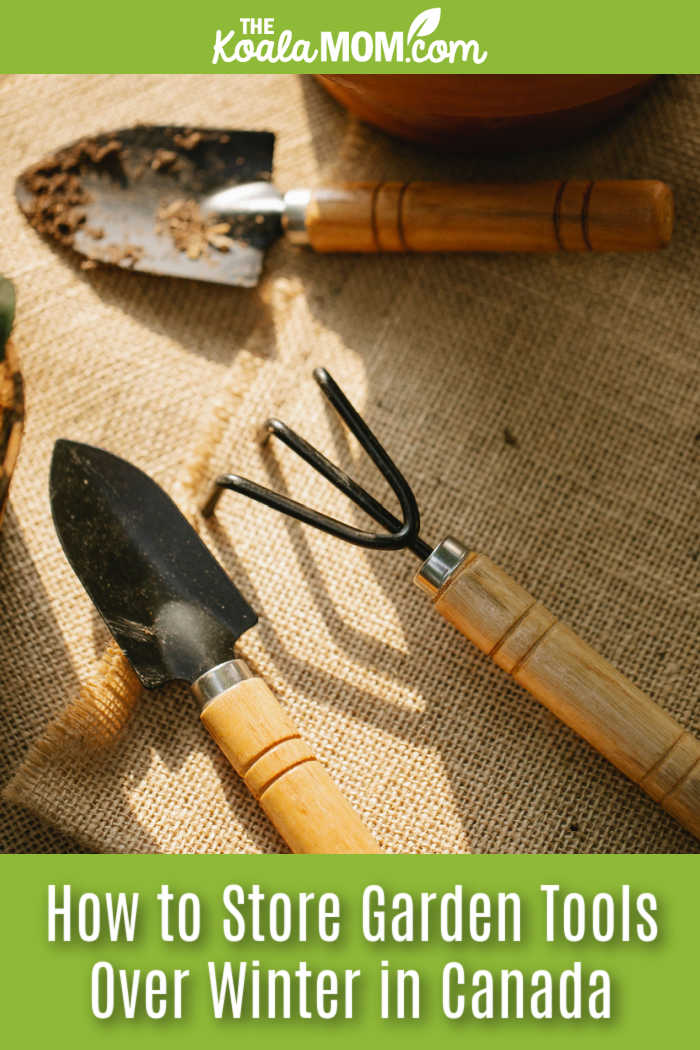
Step 1: Clean Every Tool Before Storage
I know. At the end of a long gardening season, cleaning tools isn’t exactly the most exciting way to spend an afternoon. It’s tempting to toss everything into the shed and promise yourself you’ll deal with it in the spring. Or, if you’re like me, simply put it off until “next time” you pull the tools out (because sometimes winter arrives in September and sometimes it arrives in October).
Don’t.
Dirt and plant debris can hold moisture against metal surfaces, encouraging rust and corrosion while your tools sit unused for months. Before putting anything away, brush off caked-on soil with a stiff brush or putty knife. If necessary, wash the tool with warm, soapy water and then dry it completely.
Pay particular attention to pruning shears and other cutting tools. Wipe the blades with rubbing alcohol to remove sticky sap and help reduce the chance of carrying plant pathogens from one season to the next.
And don’t rush the drying step. A tool that looks dry on the outside can still have moisture around joints, hinges, or other small spaces. Give everything plenty of time to dry before moving on to storage.
Step 2: Protect Metal From Rust
Once your tools are clean and dry, give the metal parts a little extra protection. A light coating of linseed oil, mineral oil, or another suitable tool lubricant creates a barrier between the metal and winter moisture (especially if you live in the “wetcoast” like I do, where rain is more likely than snow all the winter).
You don’t need to completely soak your shovel in oil. A rag lightly coated with oil is usually enough to wipe down shovel heads, hoes, rakes, trowels, and other metal tools.
There’s also an old-fashioned trick you may have seen before: fill a bucket with sand mixed with oil and push your tool heads into it a few times. The sand helps remove remaining dirt and surface grime while the oil coats the metal. (This is a great job for your kids to help with!)
For pruners and shears, sharpen the blades before you put them away. There’s something satisfying about opening the shed in spring and finding your tools clean, sharp, and ready to go rather than discovering that everything needs an hour of maintenance before you can plant a single thing.
Step 3: Don’t Forget the Wooden Handles
Metal isn’t the only part of your garden tools that needs attention. Wooden handles can dry out, develop rough spots, or crack over time.
Start by sanding away any splinters or rough areas. Then apply a suitable wood treatment, such as boiled linseed oil, according to the product directions. Give it time to soak in and wipe away any excess.
Besides helping protect the wood, this also keeps your handles smoother and more comfortable to use. After all, nobody wants to start the gardening season with a giant splinter in their hand.
Step 4: Drain Hoses and Prepare Power Equipment
Anything that holds water needs some attention before freezing temperatures arrive.
Garden hoses are an obvious example. Drain them completely, coil them without tight kinks, and store them somewhere protected from the elements. Leaving water inside a hose when temperatures drop below freezing can result in cracking or splitting.
Don’t forget smaller watering equipment, either. Empty sprayers, watering cans, and other containers before storing them.
For gas-powered equipment such as trimmers and tillers, check the manufacturer’s recommendations for winter storage. Depending on the equipment, you may need to run the fuel system dry or add a fuel stabilizer. Leaving untreated gasoline sitting for months can cause problems when you’re ready to start the equipment again.
If you have cordless tools, remove the batteries and follow the manufacturer’s storage recommendations. Lithium-ion batteries generally perform best when stored in a cool, dry indoor location rather than left in a freezing shed or garage. Extreme cold can reduce their performance and, depending on the circumstances, shorten their useful life.
Step 5: Choose the Right Winter Storage Space
Once your tools are clean and prepared, where you put them matters.
You don’t necessarily need a heated garage. For most hand tools, an unheated shed can work perfectly well. What you do want is somewhere that keeps out rain and snow and has enough ventilation to prevent moisture from becoming trapped inside.
A resin shed can be a practical option because it won’t rot like wood and doesn’t require the same kind of ongoing maintenance. A weather-resistant deck box can also work well for smaller hand tools, particularly if you’re working with limited storage space on a patio or balcony.
Whatever storage space you use, try to keep tools off the floor. Hang shovels, rakes, hoes, and other long-handled tools on hooks or a storage rack rather than leaving them leaning in a damp corner. They’ll stay more organized, be less likely to get damaged, and—perhaps most importantly—be much easier to find when you need them.
If you’re comparing outdoor storage solutions, look for features such as reinforced construction, ventilation, and secure doors. And if you’re in an area that gets significant snowfall, check the manufacturer’s snow-load rating rather than assuming any shed will handle whatever winter throws at it.
Common Winter Tool Storage Mistakes to Avoid
Even if you don’t have time for a complete winterization routine, avoid these common mistakes:
- Putting tools away dirty. Soil and plant debris can trap moisture against metal surfaces.
- Leaving tools directly on the floor. Floors in sheds and garages can become damp, especially during temperature changes.
- Sealing damp tools in airtight containers. Any moisture you trap inside has nowhere to go, which can encourage condensation and rust.
- Forgetting anything that holds water. Drain hoses, sprayers, watering cans, and other equipment before the first hard freeze.
- Leaving batteries in a freezing shed. Store rechargeable batteries according to the manufacturer’s recommendations, generally in a dry indoor location away from temperature extremes.
- Waiting until spring to deal with everything. Future-you will be very grateful if spring gardening can begin with planting rather than a three-hour tool-cleaning project.
Frequently Asked Questions
Can garden tools stay in an unheated shed all winter?
Yes. For most hand tools, cold temperatures aren’t the biggest concern. Moisture is. If your tools are clean, completely dry, protected against rust, and stored somewhere reasonably dry and ventilated, an unheated shed can be a perfectly good winter home.
Should pruners be taken apart for winter?
If your pruners are designed to be disassembled, taking them apart for a thorough cleaning, sharpening, and lubrication can help extend their life. Follow the manufacturer’s instructions, especially if you’re not familiar with the particular model.
Do resin sheds hold up to Canadian snow?
Many quality resin sheds are designed to handle winter conditions, but snow-load ratings vary. Check the manufacturer’s specifications for your particular shed and remove excessive snow accumulation when necessary, particularly after a major storm.
Get Your Garden Tools Ready Before Winter Arrives
Winterizing your garden tools doesn’t have to become another huge item on your fall to-do list. Once you’ve finished your final garden cleanup, spend an afternoon cleaning everything, letting it dry, oiling the metal, caring for wooden handles, and putting your tools somewhere protected.
Then, when the snow finally disappears and you’re itching to get back outside, you won’t have to start the gardening season by wondering which tools survived the winter.
The exact timing depends on where you live. In the Prairies and Northern Ontario, you’ll often want to tackle winter tool storage by mid-October, before sustained freezing temperatures arrive. On the West Coast, you may be able to wait until late November, but don’t let the milder temperatures fool you—months of damp, coastal weather can be just as hard on metal tools as a deep freeze.
A little preparation now means your spring gardening tools will be ready when you are.
No Responses Yet