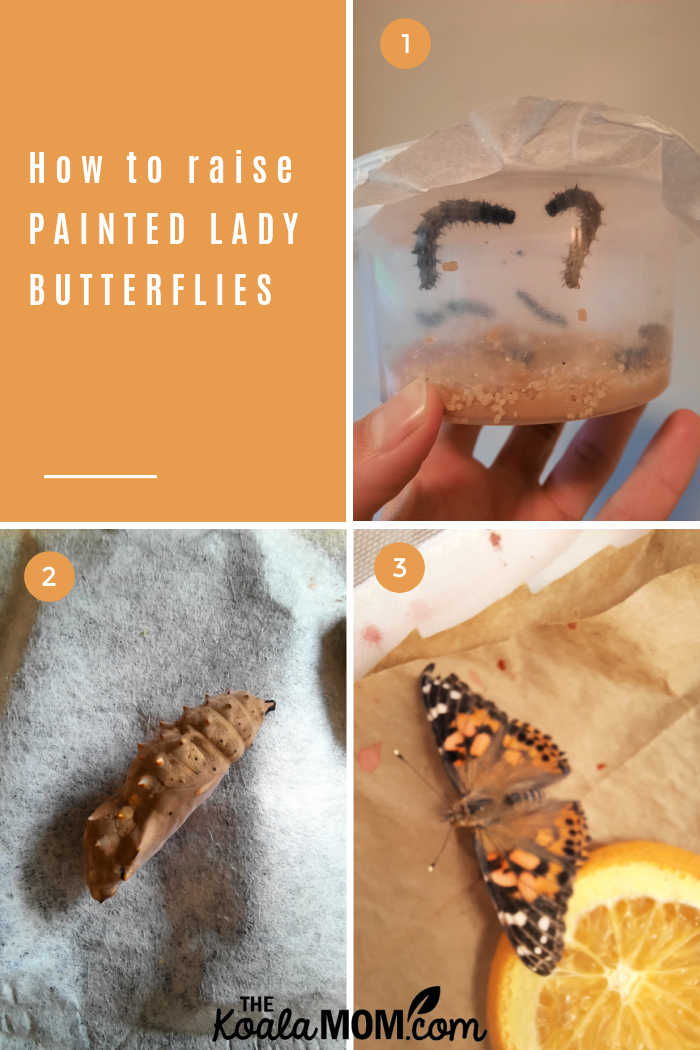
This spring we had the opportunity to raise six painted lady butterflies from tiny caterpillars. It was our first time doing so and it was the most fun we’ve ever had with homeschool science. While my kids know the process of egg to caterpillar to butterfly as well as any other child (thanks to The Very Hungry Caterpillar and other stories), it was fascinating to actually see the transformation under our own eyes. Here’s a glimpse into the whole process of raising butterflies.
Ordering Butterflies
At the end of February, one of my homeschool teachers sent around an email saying that now was the time to order butterfly larvae if we wished to raise butterflies. We’d never raised butterflies before, but it seemed like fun, so I placed an order with a local homeschool supplier. It was around $30 for six caterpillars, with the food they needed until they went into their chrysalis.
Just before we picked up our painted lady butterflies, I also ordered a butterfly cage for them. Ours was an Ikea laundry hamper, but you can also get an Insect and Butterfly Habitat online that has clear PVC on top to make it easier to view your butterflies. Either option is about $12. Once your butterflies have been released, it’s easy to fold the habitat to store until next year’s butterflies arrive.
At the end of April, I finally told the girls we were going to be raising butterflies. They couldn’t wait to pick up our caterpillars. After school one afternoon, we drove to the store to pick up our new “pets” aka science project.
The Very Hungry Caterpillars
Our six little caterpillars arrived in a small, clear plastic container—about the size of a small margarine container. The caterpillars were about a week old and barely longer than the end of my thumbnail. Their special scientific food (consisting mostly of soy and wheat, with some added vitamins and minerals) layered the bottom of their container.
If our painted lady caterpillars were growing in nature, they’d be feasting on thistles. Although most gardeners consider this an invasive plant, it’s the painted lady caterpillar’s favourite food and likely one reason why they are found on almost every continent except Australia and Antarctica. Because of their favourite food, this butterfly is also known as the thistle butterfly.
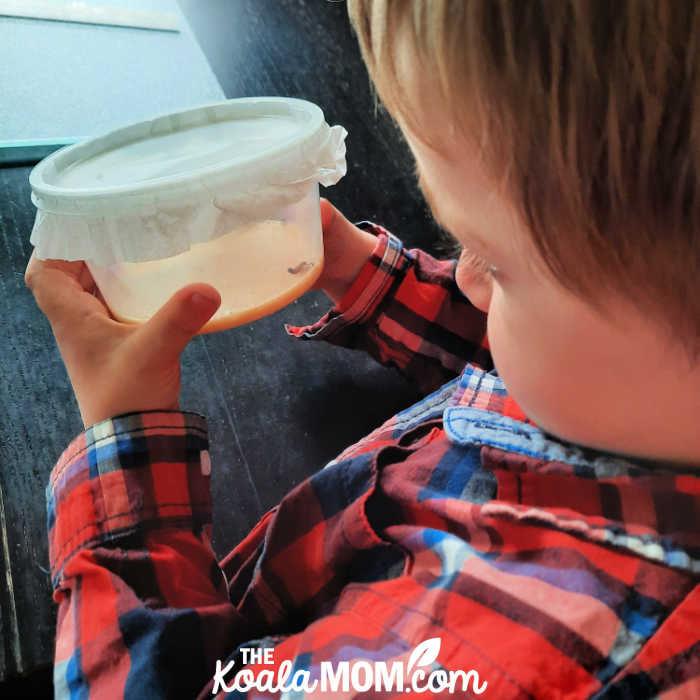
Each of the kids were eager to hold and watch the caterpillars, from my teenager down to my toddler. The tiny caterpillars weren’t super active at first. They explored their tiny container, inching across the surface of the food or heading up the sides of the container and even hanging upside down from the paper that lined the lid.
Because the caterpillars have no immune system, I had to remind the kids to wash their hands before checking on the caterpillars. I also kept the caterpillars on a high shelf on my desk, to prevent any toddler mishaps. Joey particularly loved to watch the caterpillars, but we also had to carefully supervise that he wasn’t too rough with their container.
Our caterpillars had up to fourteen days to grow and eat before turning into chrysalises. I was amazed at how fast they grew and changed in those fourteen days. I thought I’d have Jade and Pearl check on the butterflies once a week and write notes about their growth and progress. Instead, we ended up checking our caterpillars every second day. After their first week, our caterpillars were giants compared to the tiny babies we’d started with.
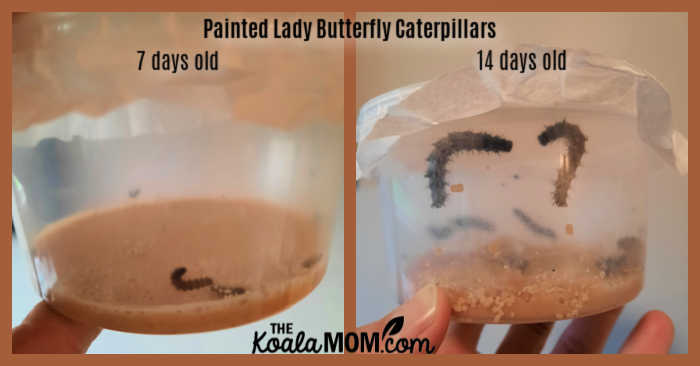
The older the caterpillars got, the messier their little habitat got. There was crumbs of food all over. There were bits of caterpillar poop and shed skin dotting the food layer. And there were lines of silk across the container too, with bits of food and skin caught up in it. The caterpillars would crawl on or around the silk as they ate and explored. They still liked going up and down the walls of the container and were usually found around the outside edges somewhere.
Not all the caterpillars grew at the same pace, though. I don’t know if they were all exactly the same age when we got them, but some grew much more quickly than others. The bigger caterpillars went into their chrysalides earlier than the smaller caterpillars. Did the caterpillar age affect their development? the room temperature? how much food they ate? other factors? We can only guess!
Six Little Chrysalides
One day, we noticed a couple of the caterpillars hanging in a J position from the paper at the top of the container. The next morning, two of the caterpillars had turned into little grey chrysalides. They were attached to the center of the container, and their four little siblings continued to crawl and wiggle around them. The caterpillars themselves looked so much bigger than the chrysalides; I was amazed they could squish themselves into the smaller space for their transformation to butterfly.
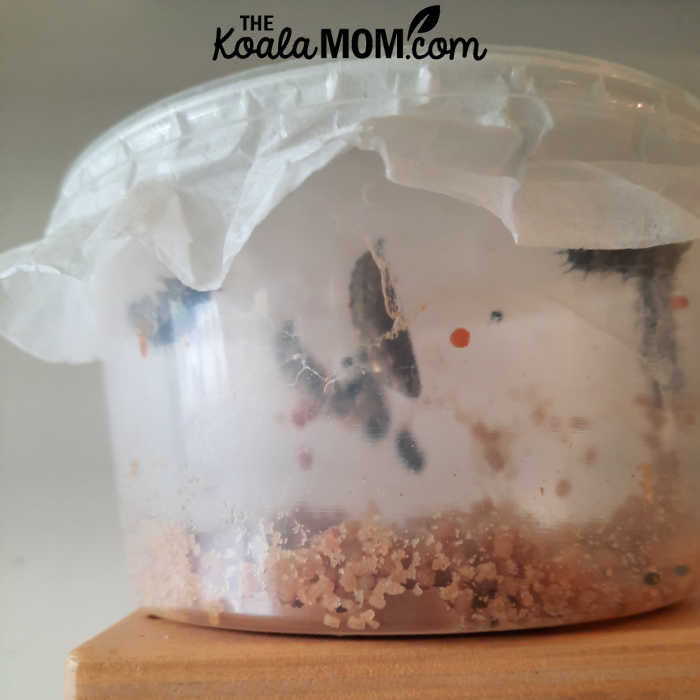
Two weeks after we’d gotten our tiny caterpillars, all six were in their cocoons. It was time for the next step in raising butterflies: moving them out of their caterpillar container and into their butterfly habitat.
Becoming Butterflies
I got out our Ikea laundry hamper. The pamphlet we’d gotten with our caterpillars warned that they’d pee in their cage once they hatched into butterflies. To prevent messes, I cut some brown packing paper into a circle to put in the bottom of our habitat. Then we very carefully lifted the lid off our caterpillar container.
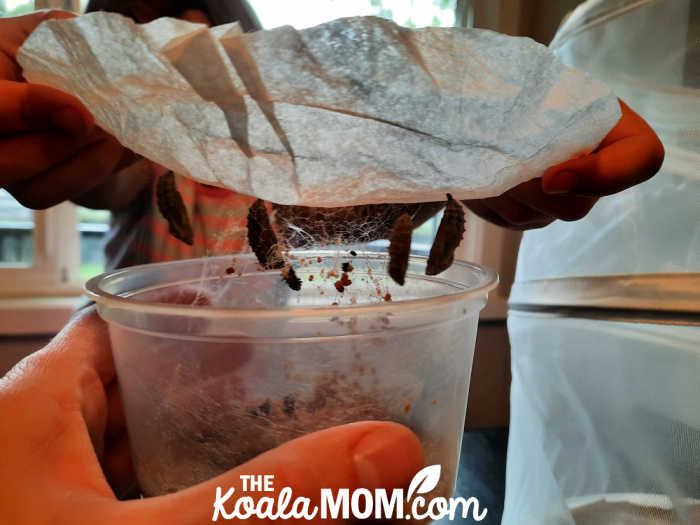
That was easier said that done. The caterpillars had woven silk all through the container and we actually had to pull carefully on the paper to lift it out. Slowly, the silk released until we had our piece of paper with six butterfly chrysalides. Then, as I’d seen in a video about raising painted lady butterflies, we used a Q-tip to carefully brush the silk and some dead skin pieces away from the butterflies.
Six perfect little brown packages lay on our circle of paper. Each was attached to the paper with a thin, black hook at one end of the chrysalis. There were spikes poking through their chrysalides, and black dots across the light tan skin. Each chrysalis was less than an inch long.
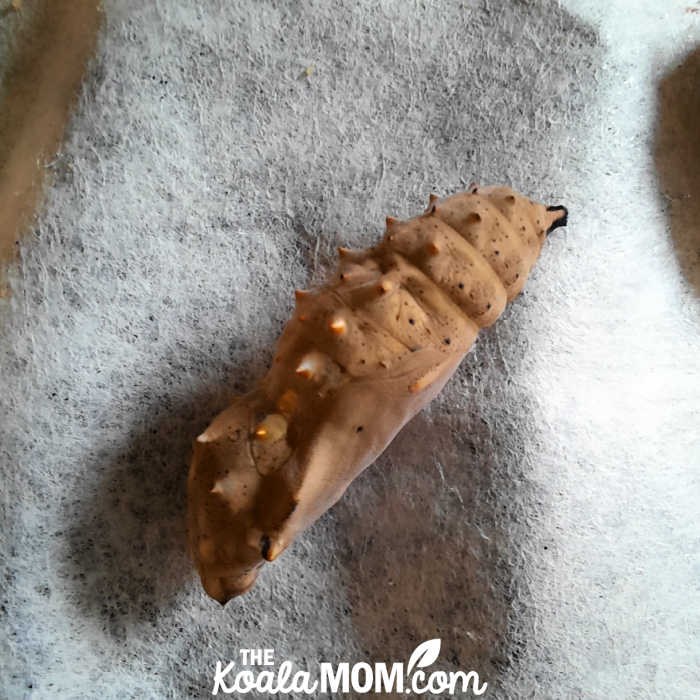
The instructions we’d received for raising painted lady butterflies said to remove the chrysalides from the paper and place them gently around the edge of the cage. I’m not super squeamish about bugs, but I gingerly tried to pick one up and pull it off the paper. It didn’t come. The caterpillar inside wiggled and squirmed and the girls shrieked at me to stop.
Worried that I’d squish the caterpillar or somehow hurt it in trying to pull it off the paper, we decided to simply place our paper in the bottom of the habitat. I was actually amazed at how strong the bond between chrysalis and paper was, because it looks so thin and flimsy.
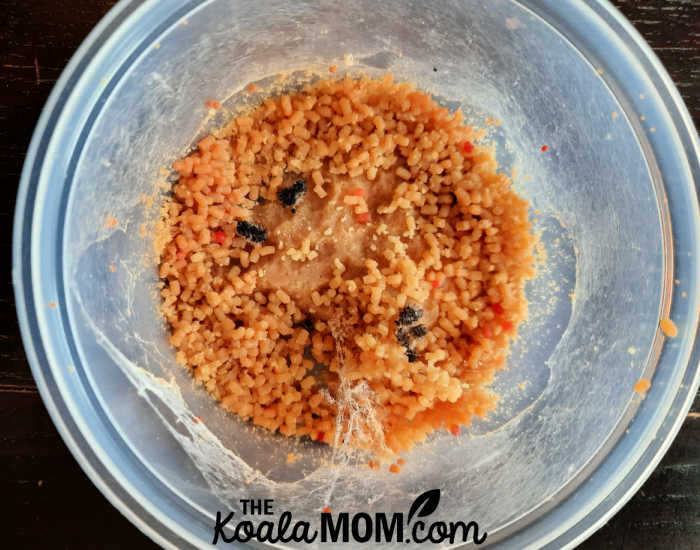
The little container that the caterpillars had lived in for fourteen weeks was now a mess. Silk was spun across the container like so many spider webs. There was plenty of food left, but it was now in pellets, some of them bright red (caterpillar poo?). Bits of skin were also leftover from the caterpillars many sheddings, although not as much as I’d expected from six caterpillars who grew at least 3 new skins. Maybe they eat their old skins, as they do their egg shells?
During the next stage, as our chrysalides changed unseen into butterflies, we misted them with water three times a day. This was a highly-fought-for privilege, and I ended up having each girl take a turn for a day. When the first chrysalides turned dark, we stopped misting and waited for the butterflies to appear.
Enjoying Our Painted Lady Butterflies
I was sitting on the couch one morning when I heard a slight fluttering noise and looked up. There was a butterfly sitting on the wall of the hamper. Sometime early in the morning, two butterflies had emerged and were now fluttering about their new habitat.
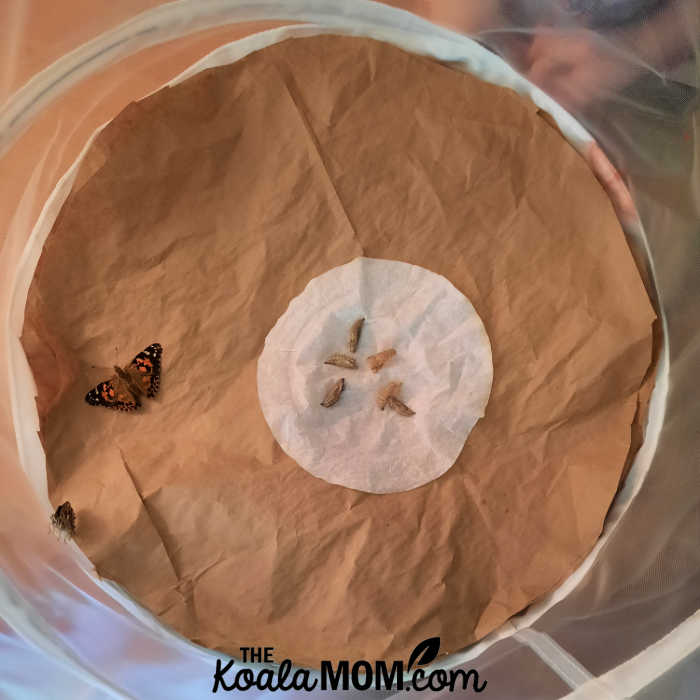
We put a slice of orange in the habitat for the painted lady butterflies to eat. It was fascinating to watch them climb slowly up the walls of the hamper. Through the thin net, we could see the butterfly curling and uncurling its proboscis, just as the books we’d read had said. It was amazing to look at the adult butterflies and try to imagine how they’d fit into the empty, hollow cocoons sitting just beside them.
The butterflies hatched slowly over the next three days. Three hatched on one day, and one on the last day. We gave them a fresh orange slice each day. As the pamphlet had predicted, bright red stains appeared around the butterfly habitat. Just like new babies, new butterflies have meconium as soon as they are born. Now, we misted the cage once or twice daily, as the butterflies apparently like a more humid environment.
After Raising Butterflies… Release Them!
On Sunday afternoon, we took the butterflies outside to show our neighbours. One butterfly flapped excitedly all around the cage, so I lifted the lid and let it flutter away. It was a warm, sunny day and that butterfly seemed ready to go.
The next three days were cold, cloudy and windy. I watched the temperatures, worrying about keeping our butterflies inside for too long, but also worried about releasing them into a cold, gusty environment. Finally, Thursday dawned sunny and warm. When the girls got home from school, the temperature was well over the required 16*C and the wind was gentle.
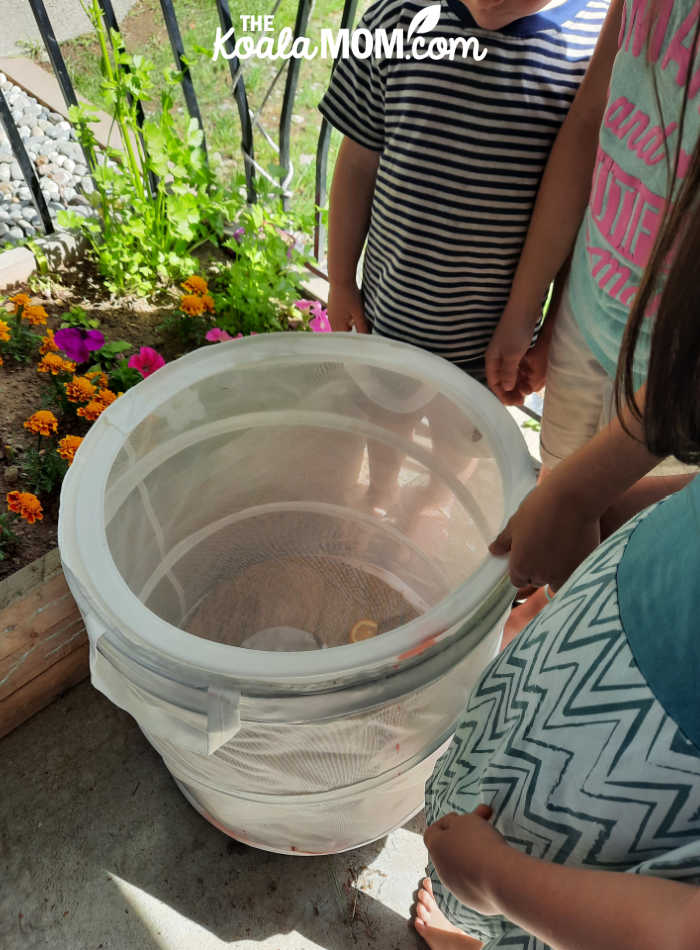
We took our butterfly habitat outside and opened the top. The butterflies stayed down near the bottom of the cage. Gently, I put my hand inside, trying to encourage the butterflies to flutter up. One butterfly climbed onto my hand, so I gently lifted it out and put it next to the flowers in our garden box. It eventually crawled onto a petunia and then lifted into the air and fluttered away.
The kids all wanted a butterfly to sit on them, and crowded eagerly around the hamper, thrusting their hands in. I couldn’t see the butterflies and there was little space for them to flutter out. I suggested that we give the butterflies some space, and perhaps they would start to flutter out on their own. We left the cage open and waited, watching them. The girls came and went. Occasionally, I tried to encourage the butterflies to come out. One more fluttered away.
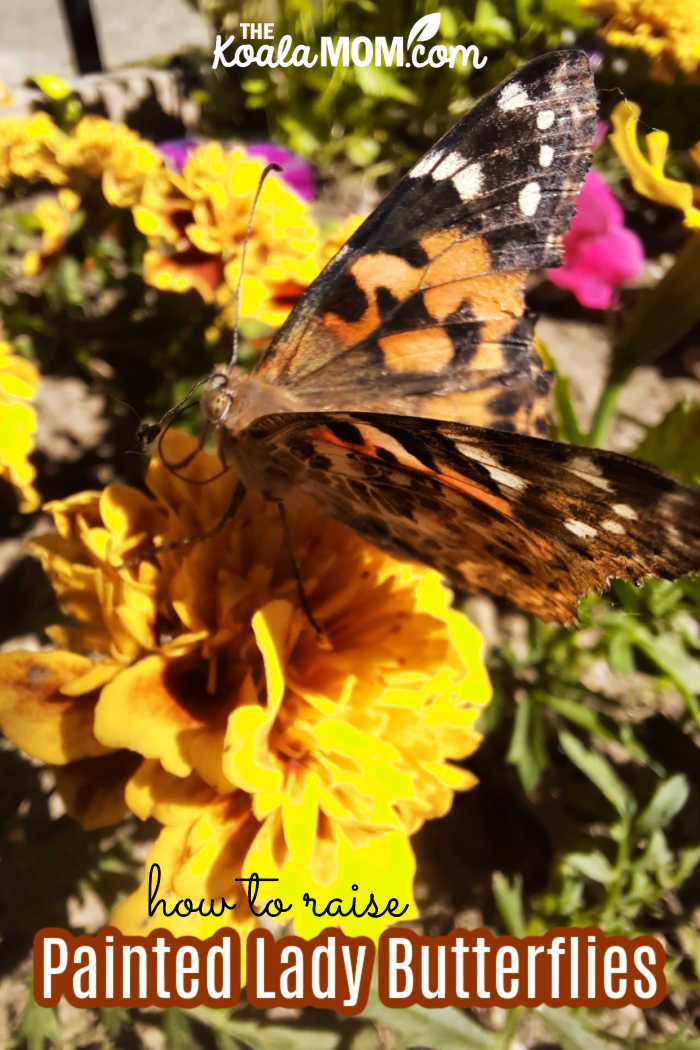
Then I turned the habitat on its side. Somehow, the remaining butterflies found it easier to flutter out rather than up, and they were soon out of sight past the trees. Our month-long adventure of raising butterflies was over.
Butterfly Resources & Books
During the month that we had our caterpillars, chrysalides and butterflies, we had a lot of fun learning more about butterflies. This became our science, history and art projects for several weeks. Here are some of the resources that we used to explore the life cycles of butterflies.
An Extraordinary Life—this book follows a monarch butterfly from hatching in a Massachusetts milkweek field through its migration to Mexico and then back to Texas in the spring as an adult to lay eggs. Written as a story, An Extraordinary Life is a detailed yet engaging account of one butterfly’s journey through all the dangers and obstacles encountered during migration. I read this aloud to Jade and Pearl (grades 1/2) but the older girls were listening along as well.
The Girl Who Drew Butterflies: How Maria Merian’s Art Changed Science—this was our history tie-in for our butterfly study. Maria Merian lived in Germany in the late 1600s and early 1700s. She was trained as an artist by her stepfather, but grew up with a deep interest in insects. At this time, people thought bugs spontaneously generated from the ground and had no idea how caterpillars, chrysalides, and butterflies were connected. Maria’s studies and artwork (although, as a woman, she didn’t access to the same resources as men of that time) changed what people knew about butterflies. This book has lots of pictures (including two full-colour pages of the painted lady butterfly life cycle).
Butterflies in Room 6: See How They Grow—this book is about a classroom raising monarch butterflies, with lots of pictures for kids to see the process.
The Magic School Bus: The Butterfly And The Bog Beast—For kids in Kindergarten / Grade 1 like Pearl, the Magic Schoolbus is a fun way to learn more about butterflies. Miss Frizzle’s class is trying to pick a class mascot. Miss Frizzle takes the class on a field trip to a swamp to hunt for a bog beast. Along the way, they discover swallowtail caterpillars and butterflies and learn more about their defense tactics.
The girls also created a few butterfly life cycle diagrams. For Pearl, I printed pictures of the painted lady egg, caterpillar, chrysalis, and butterfly, and then we glued them into her science notebook and labeled them. KindergartenMom has a printable butterfly life cycle wheel as well as a printable butterfly writing prompt page. PreschoolMom has more butterfly printables.
Crafts are also a fun way to add to your butterfly lessons. Jade and Pearl used craft pompoms to make caterpillars on a construction paper leaf. You can also get foam butterfly cut-outs to let your young learners decorate their own butterfly crafts. We also made a small paper airplane and drew a butterfly on the top wings, to demonstrate how a butterfly would glide on thermals and conserve energy while migrating (see Janice VanCleave’s Science Around the World: Activities on Biomes from Pole to Pole).
If you can, visit a local butterfly garden or conservatory to see more species of butterflies. The girls don’t remember all the butterflies we used to watch at the Victoria Butterfly Gardens, so we’ll definitely have to visit there next time we are back on the Island.
If your kids enjoyed learning about raising butterflies, they may also enjoy more buggy fun this summer.
Where to Order Butterflies
Raising butterflies is an easy, engaging, hands-on science project that’s perfect for every homeschool classroom!
In Calgary, Alberta, you can order painted lady butterflies rom Canadian Home Education Resources (CHER). They will ship to certain addresses.
In Langley, BC, you can order from Flutterbuys or Homeschool Canada.
Monarch Butterflies is an online store that sells painted lady butterfly kits (with everything you need), shipping from farms within Canada and the US between April and September.
Have you ever tried raising butterflies in your homeschool?

No Responses Yet