


This is a craft the girls made at a local festival hosted by a greenhouse last year. Since then, they’ve played with or talked about their moss gardens almost daily. Their little gardens sit on our porch, so even when it’s raining, they can sit outside playing with them. They also regularly collect more things to add to their gardens.
To me, it’s a win-win all around! The girls get a fun little garden to play with, and they also have a reason to look more closely at nature when we’re out walking. A pretty rock, an interesting pine cone, or a handful of colourful leaves can all become treasures for their miniature worlds.
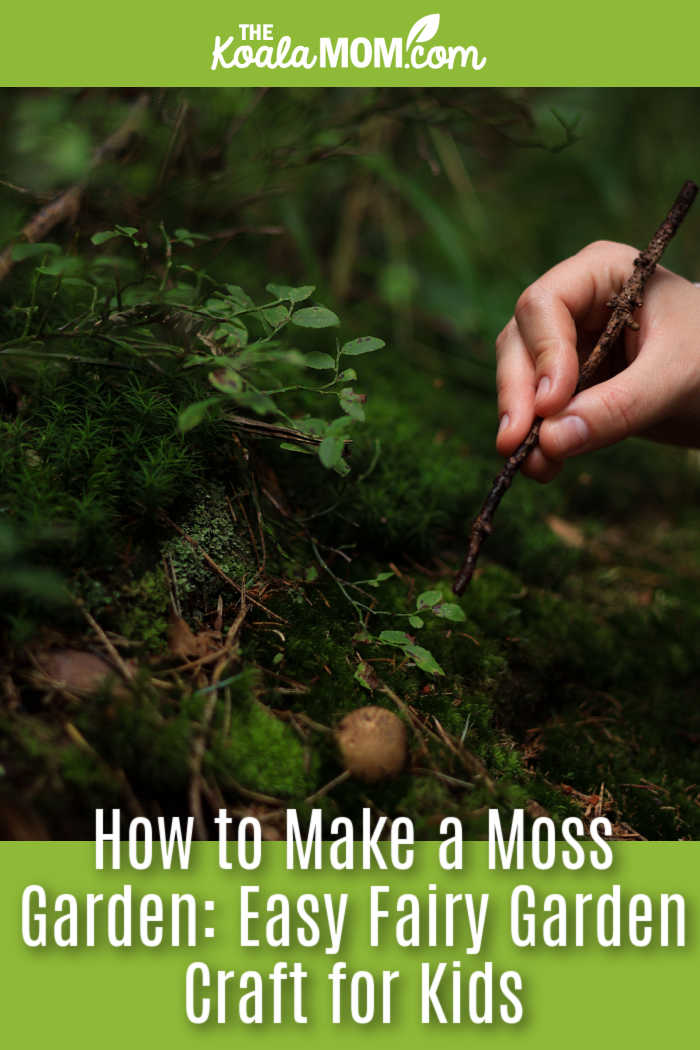
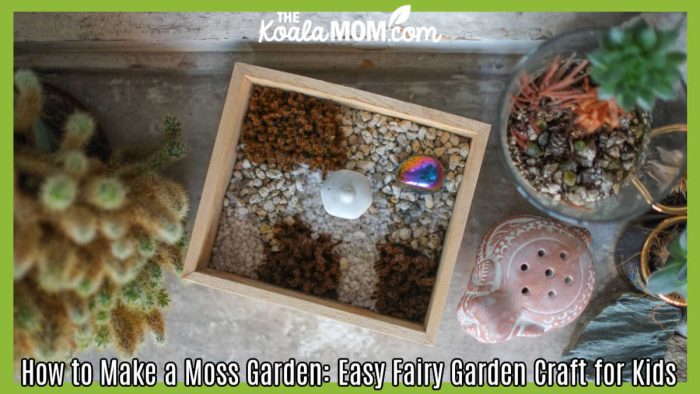
Making a moss garden is an easy nature craft for kids that combines gardening, imaginative play, and collecting natural treasures. You don’t need a large yard or much gardening experience to get started. With a shallow tray, some potting soil, moss, and a few small decorations, your children can create their own miniature garden or fairy garden.
This post contains affiliate links; as an Amazon associate, I earn from qualifying purchases.
Supplies Needed to Make a Moss Garden
One of the best things about this DIY moss garden is that you can use whatever you already have around the house or find on a nature walk. There’s no need to buy lots of special decorations!
You’ll need:
- A flat tray or shallow container: Choose something with enough room for a little landscape. A tray with drainage holes is helpful if you plan to grow living moss and plants outdoors. Avoid glass or ceramic planters as they could be breakable.
- Potting soil: Add a layer to help anchor the moss and any small plants.
- Moss or other small plants: Look for moss and miniature plants suitable for your climate and growing conditions. Make sure you have permission to collect moss, and avoid removing it from protected areas. If you’re unsure where to collect moss, try getting preserved natural moss as your local garden center.
- Small plastic animals or fairy garden figures: Tiny animals, fairies, dinosaurs, or woodland creatures give children something to play with.
- Decorative items: Rocks, glass beads, shells, pine cones, and other small treasures can turn a simple tray into a miniature landscape.
You can also add twigs, miniature fences, little paths, or a small house if you want to create a more elaborate fairy garden. Start with a few basic supplies and let the children add to their gardens over time.
For toddlers and preschoolers, choose decorations that are too large to swallow, and supervise play with small objects.
How to Make a Moss Garden with Kids

This is a very simple craft, which makes it suitable for young children who want to get their hands dirty. You can prepare the supplies ahead of time, or let the kids help with each step.
- Prepare the container. Place your tray on a surface that’s easy to clean, such as an outdoor table or a washable mat. If you’re using a container without drainage holes, be careful not to overwater a living garden.
- Add the soil. Have your child spread an inch or two of potting soil across the bottom of the tray. It doesn’t need to be perfectly even; a few small hills and dips can make the garden more interesting.
- Arrange the moss and plants. Place the moss on top of the soil, leaving room for other plants or decorations. Children can experiment with different arrangements to create a woodland scene.
- Add the animals and decorations. Let your child position plastic animals, rocks, shells, pine cones, and other treasures around the garden. A rock might become a mountain, while a pine cone could be a tree.
- Give the garden a little water. If you’re using living moss, lightly mist it as needed to keep it suitably moist without leaving it waterlogged. Follow the needs of any other plants you’ve added.
- Find a place for the garden. Set it somewhere appropriate for the plants you’ve chosen, and where your child can easily reach it to play and make changes.
The fun doesn’t have to stop once the garden is finished. Leave some room for new discoveries, and encourage your children to collect additional decorations on nature walks.
Let Kids Customize Their Fairy Gardens

The girls’ gardens originally had moss, glass rocks, shells, and plastic animals. Since then, they’ve added pine cones, chestnuts, and other pretty rocks they’ve collected on our walks.
I love that this craft keeps evolving. Rather than making something once and putting it away, the girls can keep changing their gardens as they find new treasures. They might rearrange the animals to create a story, build a new landscape with their rocks, or decide that a pine cone belongs in the middle of the garden.
Here are a few other ideas for decorating a moss garden:
- Create a woodland scene: Add small twigs, pine cones, and woodland animal figures.
- Make a fairy garden: Include a tiny house, a pebble pathway, and miniature furniture.
- Build a dinosaur habitat: Use rocks, sticks, and toy dinosaurs to create a prehistoric landscape.
- Make a beach garden: Arrange shells, smooth stones, and toy sea creatures in a coastal scene.
- Add seasonal treasures: Collect fallen leaves, acorns, or other natural items that reflect the current season.
You can even encourage children to give their gardens names and invent stories about the creatures that live there. It’s an easy way to combine a nature craft with imaginative play.
When collecting natural materials, choose items from places where collecting is permitted. Avoid taking things from protected areas, and check that anything you bring home is safe to handle. If you use chestnuts, acorns, or other small natural objects, supervise younger children closely.

How to Care for a Moss Garden
When the girls first made their moss gardens, we were told to spray the moss lightly with water every day. They kept up with that for a few weeks. Eventually, however, their moss dried out into little patties that could be rearranged regularly and had no roots. The dried moss still provided some greenery for their gardens!
If you’d like your moss garden to stay green, a little extra attention to the growing conditions can help. Moss generally prefers moisture and conditions suited to the particular species, but it doesn’t necessarily thrive in direct, hot sunlight. Check the needs of the moss and plants you use, and place the garden somewhere with suitable light and airflow.
A few tips for caring for a living moss garden:
- Check the moisture regularly. Moss often needs consistent moisture, but the soil shouldn’t remain soggy.
- Choose an appropriate location. Many mosses prefer shade or indirect light, although their needs vary by species.
- Consider drainage. A container with drainage holes helps excess water escape. If you use a solid tray, water sparingly to avoid creating a soggy mess.
- Let children help with care. Give them a small spray bottle and show them how to check whether the moss needs water.
- Don’t worry about perfection. If the moss dries out or the garden changes over time, your children can still enjoy rearranging the decorations and adding new treasures.
If you want a garden that stays green for longer, choose plants that suit your growing conditions and are reasonably tolerant of occasional handling. You can also treat the project primarily as a miniature play garden rather than worrying about keeping every plant alive.
Make a Fairy Garden in a Plant Pot
You could also make a similar garden in a larger plant pot (which your child could paint). Add a few hardy, child-safe plants that suit the location, then decorate the soil with miniature animals, stones, and other fairy garden accessories.
A plant pot can be a good option if you want to bring the garden indoors or keep it in one place. Just choose plants that are suitable for the amount of light available, and remember that indoor plants may need a different watering routine from those kept outdoors.
We keep our moss gardens outside because the girls regularly spill the dirt—and then sweep it up again! Having the gardens on the porch gives them a place to play without worrying too much about the mess. A larger pot might make it easier to create an indoor fairy garden that your child can enjoy throughout the year.
Another idea is to make the moss garden in a jar or vase, in a more decorative fashion like a ship in a bottle. This could be a fun gift idea for a child who prefers to create a perfect scene and then admire it (rather than rearrange it regularly).
Cost and Difficulty
Cost: Approximately $5–$10, depending on the supplies you already have and the decorations you choose.
Difficulty: Easy.
Recommended age: Ages 2 and up, with adult supervision and age-appropriate materials.
Time: About 20–30 minutes to assemble, with plenty of opportunities to add to the garden later.
This is one of those crafts that offers more than a finished project. It gives children a miniature world to care for, rearrange, and explore. It’s also a lovely excuse to slow down on a nature walk and notice the little things you might otherwise pass by.
If your children enjoy gardening, collecting natural treasures, and imaginative play, try making a moss garden together. You might be surprised by how much fun they have with such a simple project!
For more ideas, visit my 31 Days of Useful Kids’ Crafts series for more creative activities that children can make and use.
No Responses Yet