
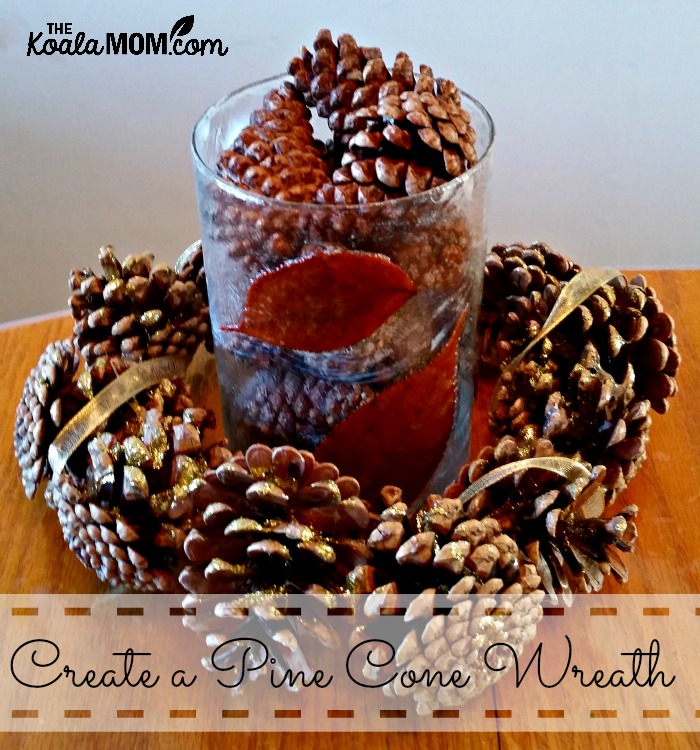
As I looked at the girls’ pile of pine cones by the front step, I thought it would be fun to make a wreath with them. We’ve never had a wreath for our front door, but this seemed like an easy way to create one. However, like the fall vases, this was a craft that wasn’t as easy to execute as I expected.
Supplies needed (affiliate links):
- pine cones
-
hot glue gun and white glue
- glitter, ribbon or other decorations
I first tried to have the girls glue the pine cones together with white glue. I’ve tried to make sure that the crafts in this series are doable by kids, so I didn’t want to use other types of glue that aren’t kid-friendly. However, the white glue was too runny to hold the pine cones and our wreath kept falling apart.
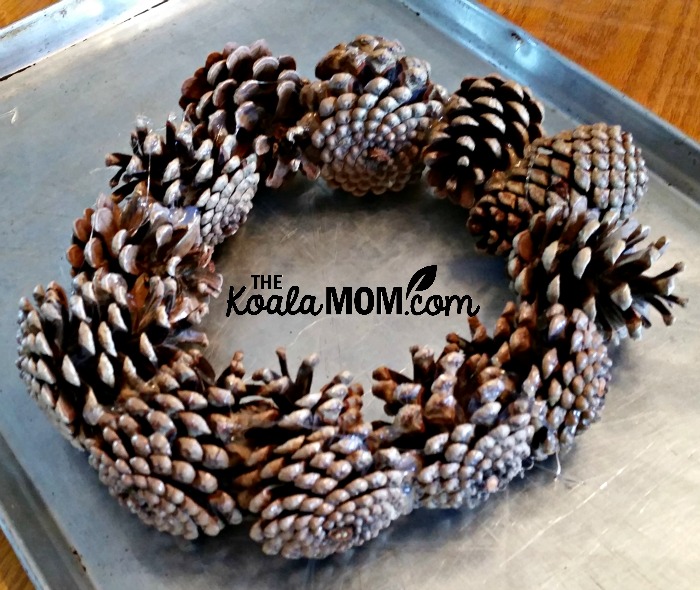
Finally, I gave up on the white glue and just used a hot glue gun to stick the pine cones together. Sunshine might have been able to do this with careful supervision, but it was still a bit difficult to get the pine cones to sit nicely until the glue dried. I used our fall vases to help me decide what size to make the wreath, as I thought we could either put it around the vase or hang it on the door. I put it on a cookie sheet to make it easy to move while I was gluing it and to make sure I didn’t glue the table.
I let the glued wreath dry overnight (though the hot glue would have probably been ready in an hour or so). Then I gave the girls each a bottle of glue and a can of gold glitter.
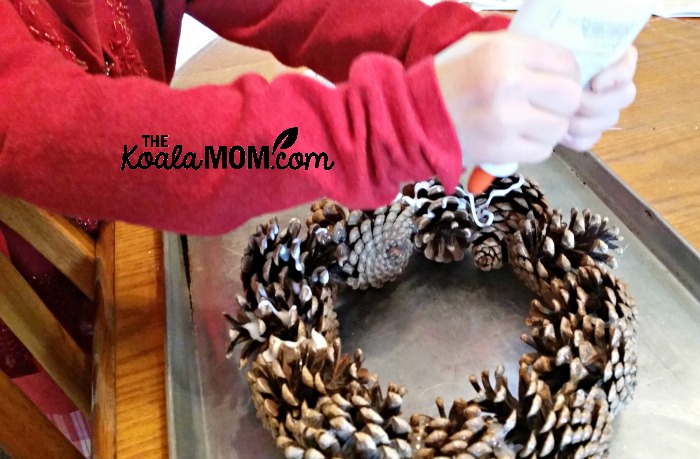
The girls drizzled the glue over the pine cone wreath, sprinkled on glitter, drizzled more glue, sprinkled more glitter. I kept the cookie sheet under the wreath to catch the glue and glitter.
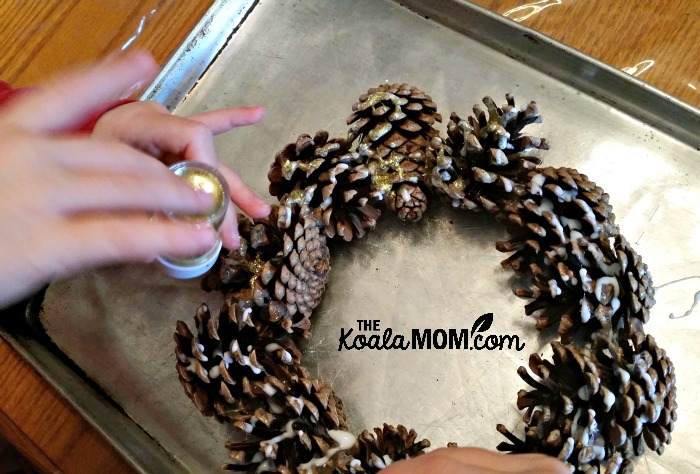
When the girls were happy with their results, we let the glue dry overnight. The wreath was now glittertastic, as my friend Val would say.
We finished it off by wrapping a gold ribbon around it, and gluing the ends of the gold ribbon on the bottom side of the wreath. For now, I’m using it around my vase as our fall centre piece. I could also add a wire or more ribbon to it to hang it to our front door. I think it would also look pretty with some candles in the centre.
Cost: under $5
Difficulty: intermediate (suitable for ages 5+)
No Responses Yet