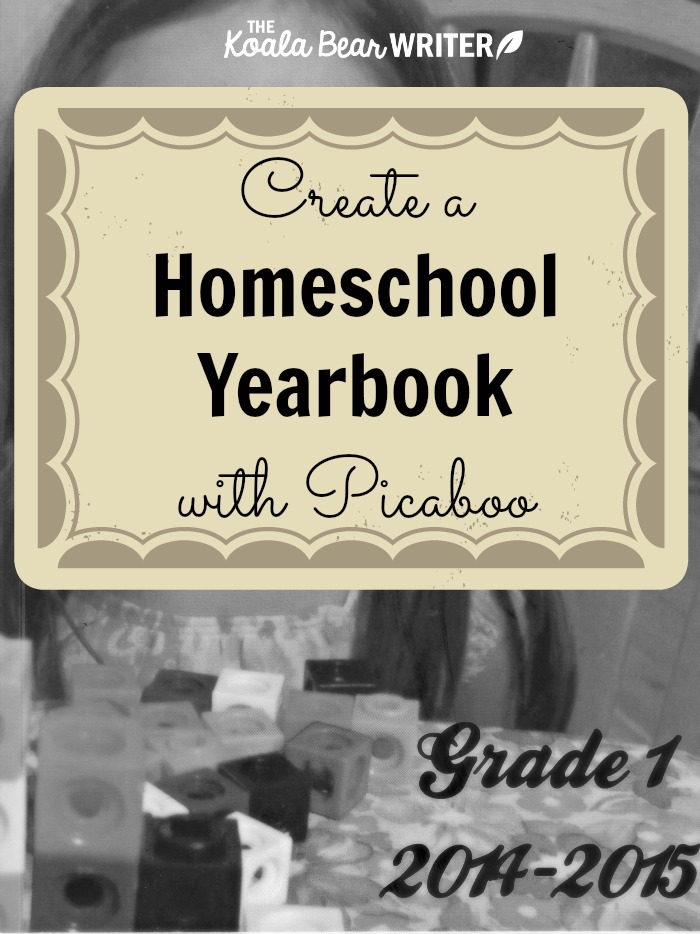
For the past several years, I’ve created an annual photobook for our family using Picaboo. It’s fun to browse through our last year in photos and easy to organize the photos using the online software, adding descriptions and dates as I go. When the photobooks arrive, they are slender, beautiful books that take up much less room than a traditional photo album—and when the girls flip through them, I don’t have to worry about photos falling out like when they’re looking at their baby albums.
So when Lisa from the Canadian Homeschooler mentioned the idea of creating homeschool yearbooks with Picaboo, I was totally on board. It seemed like a great idea to capture Sunshine’s Grade 1 year. I was also thrilled to work with a company that helps homeschoolers.

I quickly created my account with Picaboo and set about looking for photos from our homeschooling year. We had several field trips during the year, the seasonal photos we took for Sunshine’s math book, a few fun pictures I took of them all sitting around the table doing school together, pictures from Sunshine’s extracurricular activities like dance and theatre camp, and a few shots of her schoolwork.
Then it was time to load the pictures into Picaboo, and here I got frustrated. It took me a little while to figure out Picaboo’s yearbook software—in fact, I even googled a tutorial for help. I think Picaboo designed the software for a team working on a photobook, so that different people could be working on each section of the photobook, or so that edits to one section didn’t affect another section.
For me, however, it was a bit clunky to create a “section” for each field trip or event I wanted to feature in the book. Once I’d set the pages in the section, I couldn’t add more pages to that section; I had to create a new section. And to review my yearbook, instead of just clicking forward and back arrows to flip between the pages, I had to click into each section and then go back to the menu to click into the next section.
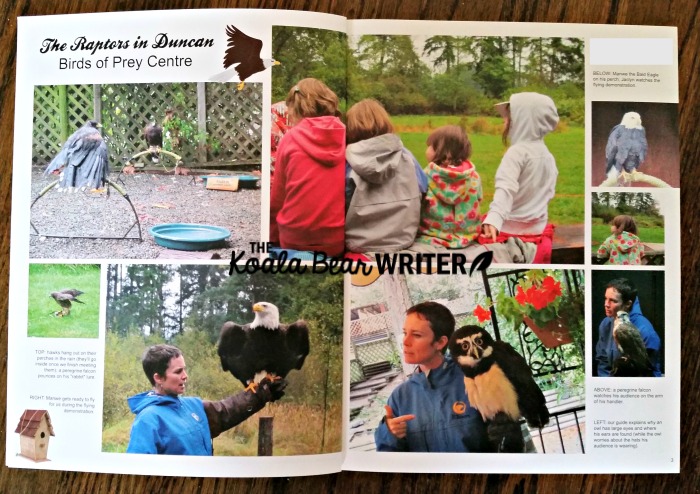
I did like the layouts in Picaboo. It was easy to select a particular layout and add photos to the page, then rearrange the photos to fit. Most of the layouts featured lots of room for descriptions, so I could add details about the field trips or who we were with.
Sunshine also had a lot of fun with the stickers; once I’d gotten the pictures loaded into the software, she helped me choose stickers to complement each page. We added pencils or rules and other school-themed stickers to a few pages, found an eagle and a birdhouse for the Raptors Field Trip page, Christmas stickers for the Christmas concert, etc.
Sunshine’s yearbook arrived within a week of when I ordered it. It’s an 8 x 12 book with 20 pages and a lovely sturdy cover. It quickly disappeared into Sunshine’s room and she was happy to show it off to her godfather and homeschool teacher when they came to visit.
This was a great way to capture some of the highlights of our homeschool year. However, if I were to do this again, I think I would simply use Picaboo’s regular photobook software, as I find it easier to work with. If you were doing this for a homeschool group, however, the yearbook software would be a great way to let different people contribute to the book and then let everyone order copies of the book.
Come back on Wednesday for your chance to WIN 1 of 5 Picaboo Yearbooks!


One Response
The book looks great! I had never heard of this particular photo book company before, and I like the idea of a homeschool yearbook a lot!