
I grew up on a hobby farm in rural Alberta, where we raised lambs, calves, ducks, geese, turkeys, and chickens. Each spring our little farm was busy with baby animals who needed various forms of care. I’ve always wanted my children to have that experience, but living in the big city, it hasn’t been possible—until I saw that a local company offers a chick hatching experience. For one month, we had the chance to incubate six eggs and then care for and play with the chicks that hatched before returning them to the farm.
If you’re interested in a chick hatching experience for your homeschool or classroom, here’s more about what it was like.
Starting Our Chick Hatching Experience
I ordered our chick experience about two months ahead of time and marked it on the calendar. Just before the pick-up date, I received an email with more information about getting our eggs and equipment. On the pick-up day, I met the farm liaison to receive a large plastic bin with everything we needed: six eggs, incubator, thermo brooder, shavings, chick feed, and water bottle, as well as instructions for each day of our experience.
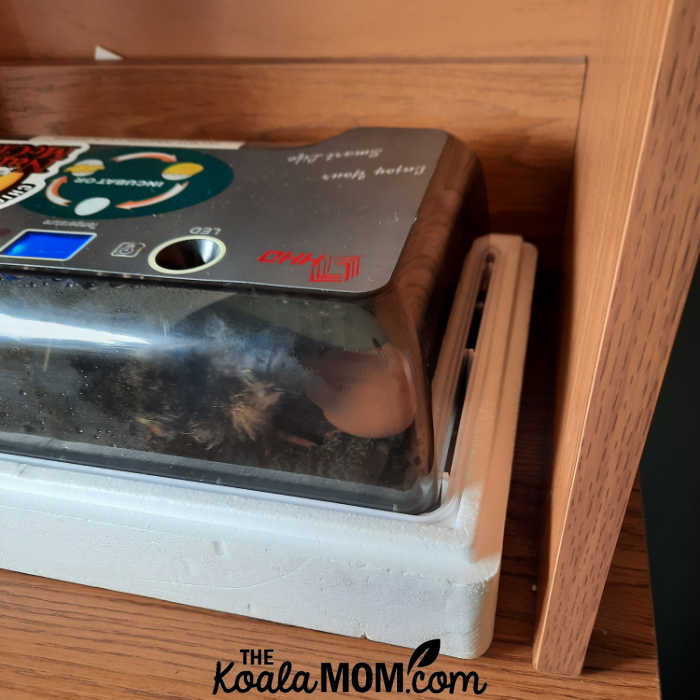
I set up the incubator with the eggs inside as per the instructions, plugged it in, put all the other stuff aside in the box, and we waited. The incubator was about the size of a very large binder and sat easily in the corner of our computer desk in the living room. It made a quiet humming noise as it kept the chicks warm. Occasionally, we checked to make sure that the eggs were getting rotated (a lever inside gently pushed them back and forth every two hours) and that there was enough water to keep the eggs humid. Otherwise, the incubator did all the work for the first three weeks.
Candling the Eggs
We had a “chick hatching calendar” on which I put the date we started incubating our eggs. For the first ten days, we didn’t touch or move the eggs. On day 10, we very carefully took one egg from the incubator at a time, candled it, and returned it. The kids loved this part, which worked best when the room was dark so that the light on top of the incubator lit up the egg.
When we candled the eggs, we could see the air sac inside and a dark spot that was the chick beginning to develop. Our eggs were several different colours, from pale blue to dark brown. It was easier to candle the lighter eggs, as the light had a harder time penetrating the darker shell. We candled the eggs again on day 12 and day 15.

On our third candling of eggs, I realized that a couple of them didn’t have a chick inside. Four of the eggs were mostly dark, which we at first attributed to the dark shell. Then I grabbed a white store-bought egg from the fridge (above) to candle. We could clearly see through the egg—no dark spot, no air sac, no chick in there. I put the other eggs on the light again. Again, two of them resembled our store-bought egg, with not much to see inside, while the other four were very dark. I told the kids we likely only had four chicks growing, but they weren’t willing to give up on the other two eggs, so we left them in the incubator.
On day 18, we candled our eggs for the last time. Then we took the rotating tray out of the incubator and put a small cloth underneath the eggs for the chicks to stand on once they hatched. The kids were very excited that we were so close to hatching day and meeting their chicks. One thing that was hard was working very quickly and gently, as we didn’t want to let too much heat and humidity out of the incubator while we adjusted it for them.
Hatching Day!
According to our calendar, hatching day was Easter Saturday. The kids were disappointed that they’d be at their dad’s for the morning and might miss the chicks hatching. They made me promise that if any chicks began hatching, I’d video the entire process for them. I tried to tell them that hatching was really a slow process, but they were adamant that they wanted to see how it happened.
Lily was working at the computer on Friday afternoon when she suddenly said, “I think a chick hatched!!!” We all stampeded over and peered through the smoked cover of the incubator. Sure enough, there was a wet, floppy chick laying inside and an empty egg shell!!! We’d missed the entire process even though we’d been home. Lily had heard a few little taps and thumps but as we live in a noisy house, she hadn’t really given it much thought… until she heard a few peeps.
Later that day a second chick hatched, and once again we missed the process. We kept the lid on the incubator shut and watched our two little chicks through the smoked cover. At first, they were obviously wet and exhausted. Slowly, over the evening and the next morning, they got fluffier and more active. By noon on Saturday, the chicks were standing in their incubator pecking at the cover and peeping loudly. It was time for more space for them.
Chicks in the House!
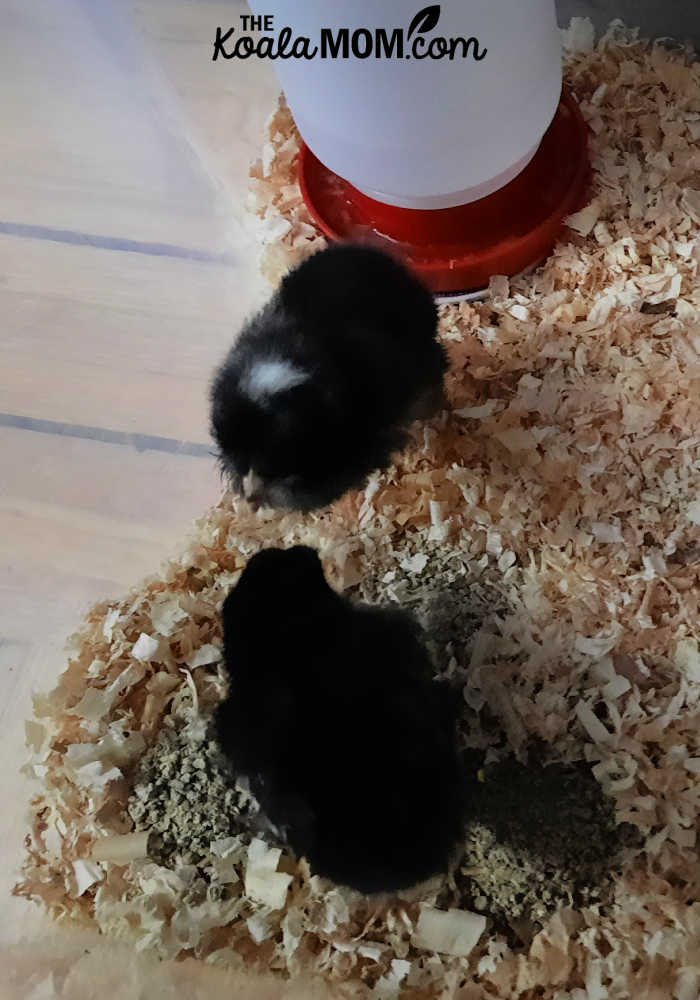
While the kids were at their dad’s on Saturday morning, I set up the chicks’ new habitat. They had a clear plastic bin with a non-slip mat in the bottom covered with fresh pine shavings. At one end of the bin, I placed their thermo-brooder to keep them warm. At the other end of the bin, I placed their water bottle, with a special “chick-booster” mix of garlic and apple cider vinegar in it. Then I moved our first two chicks into their new home.
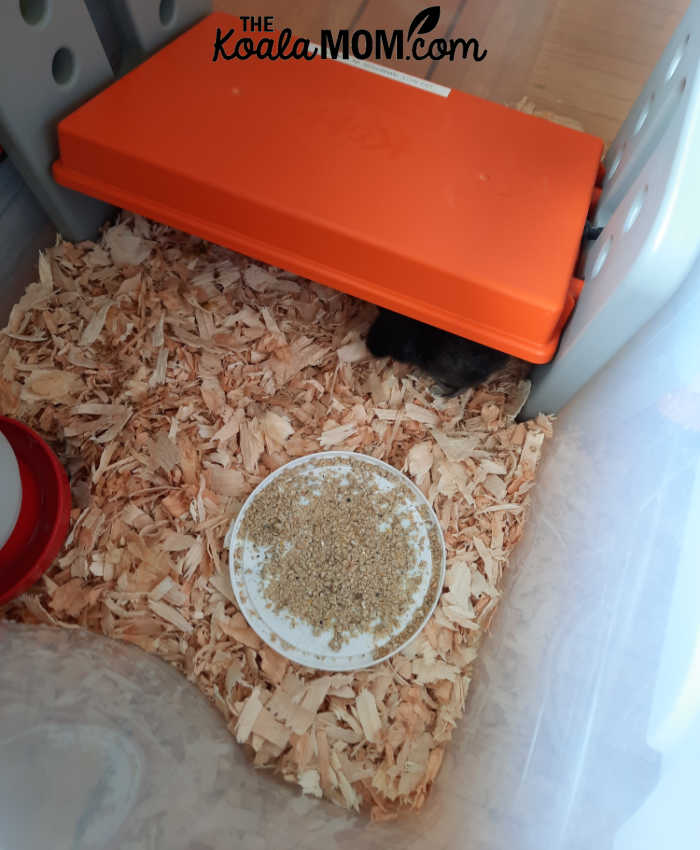
At first, I put a clean plastic lid in the bin for the chicks’ food. We’d always had feeders and feeding trays for our chicks when I was growing up. However, it didn’t seem to make a difference for the chicks, so I took it out after the first day and we just sprinkled their food in their shavings. The chicks then scratched away at the shavings to find their food, as they would in nature.
Our third chick hatched on Saturday evening and I moved him in with his siblings on Sunday night. The kids named the chicks Cheepers, Peepers and Fluffy. All three chicks were black, but one had some yellow on his chin and chest and another had a yellow spot on his head. The kids kept asking me if we could tell whether the chicks were boys or girls, and I said I had no idea how to sex a chicken at this age.
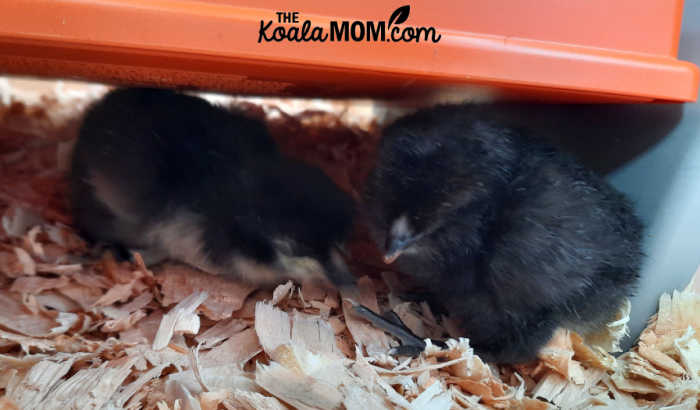
It really was fun to watch our chicks over the next week. Their plastic bin sat in a corner of the living room and we could hear them cheeping to each other. They spent a lot of their time under the orange thermo-brooder, which wasn’t as warm as I expected. The chicks had to duck to get underneath and usually huddled together under there—as they would under a mama hen, I guessed. They came out to get water or food, and scurried back under when the kids reached inside.
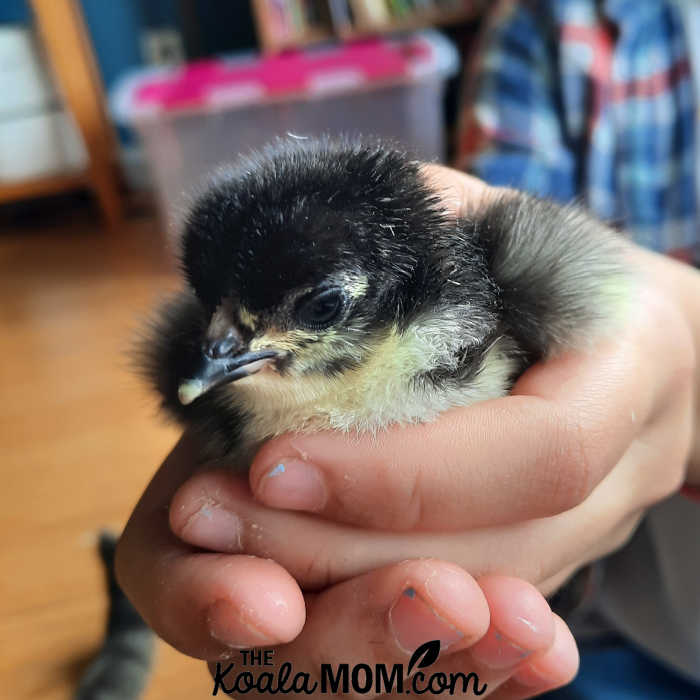
The best part of our chick hatching experience was holding the chicks. Many times a day, the girls would ask if they could hold a chick and I’d remind them to wash their hands, and then they’d scoop Peepers or Cheepers or Fluffy out of the bin and sit down with them. The selected chick usually peeped loud enough that he could be heard from anywhere in the house. They were happiest being completely contained within a child’s hand. They also tended to poop on whoever was holding them, so we went through a few outfit changes (and more hand-washing).
One thing that I noticed about our chicks was how they stuck together. Two of them hatched together and the third a day later, but they acted like triplets once we put them in their bin together. They were nearly always huddled together under the incubator. If I sprinkled feed among their shavings, they’d come out together to peck at the food. Usually one was the leader and the others followed suit. If I scared them by reaching in to add more feed, they’d scamper back under their incubator.
When the girls took them out of the bin to hold them, they’d peep loudly, unless the girls sat together so that the chicks could see each other. They were clearly a flock, even just a flock of three, who liked being around each other. This “family” aspect of chickens was something I never really noticed when we were raising thirty or more birds on my childhood hobby farm.
The Unhatched Eggs
What about the last three eggs? We waited a few more days, but no more chicks hatched. On day 23, we gave them a float test as per our instructions. All three eggs floated the same. From candling the eggs, I knew two of them had nothing inside. I wanted to see for sure, so I cracked all the eggs open outside. This wasn’t in the instructions from the farm, which just said to place unhatched eggs in the compost. When I was a kid, my brother had built an incubator and we’d spent a few years hatching out our own chicks, with mixed success. Mom always wanted to see what happened with the eggs that didn’t hatch, so we’d crack them open to see.
As I’d expected, two of the eggs had nothing in them. They’d never gotten fertilized so no baby chicks grew. The third egg, unfortunately, had a mostly developed chick inside. It was very disappointing to see, as we didn’t know what had happened that the chick didn’t hatch. Had the chick gotten too cold when we were taking out the tray or one of his siblings? Had something else happened? We’ll never know. The kids were very disappointed, but that’s part of the chick hatching experience.
Chicks and Other Family Pets
When I ordered our chick hatching experience, I didn’t really think about two factors in our home: my very active four-year-old boy and our cat. Joey was less interested in the chicks than his sisters and actually didn’t want to hold the fluffy bundles as much as they did. When he did hold a chick, I made sure that it was only with myself or my teenager supervising, to ensure the chick wasn’t squashed or dropped.
Jude Cat was another matter. He completely ignored the incubator for the first three weeks. There wasn’t much to see or hear. Once the chicks began peeping away in their incubator, though, he was suddenly very aware of them. And very interested. I found him scratching at the Styrofoam packaging around the incubator, and had to hide the incubator under another plastic bin in an attempt to protect the packaging.

When we moved the chicks to their plastic bin, they were safer from Jude. He’d sit beside their bin for hours watching them, his tail twitching. Sometimes he’d paw or scratch at the bin, but he couldn’t really hurt it. However, as the lid just flipped open, we did keep a book or something on top of the bin to make sure that he couldn’t get his paw underneath one side and get in.
Most of the time, someone was in the house to supervise the cat and the chicks. On a couple occasions when we were all out for an extended time, I locked Jude in the basement just to be sure that the chicks were safe. If you do have indoor pets, it is possible to have chicks too… but think carefully about how to make sure that the chicks and pets will be safe during this time!
Returning the Chicks to the Farm
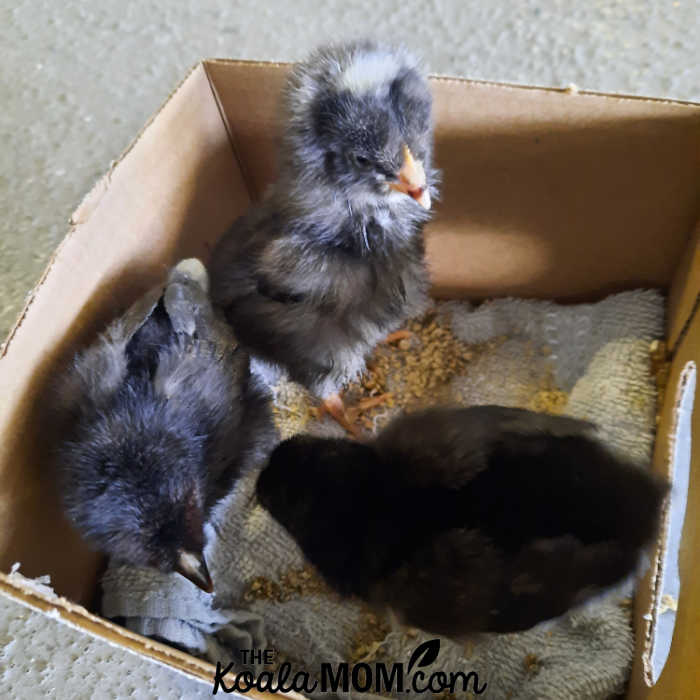
A week after they’d hatched, we returned the chicks to their farm. I put them in a small box for the drive to the meeting point, and then I cleaned all their equipment and boxed it up again for the farm. In only a week, the chicks had grown so much. They were starting to get their wing feathers already and much more active and daring than they had been when they first hatched.
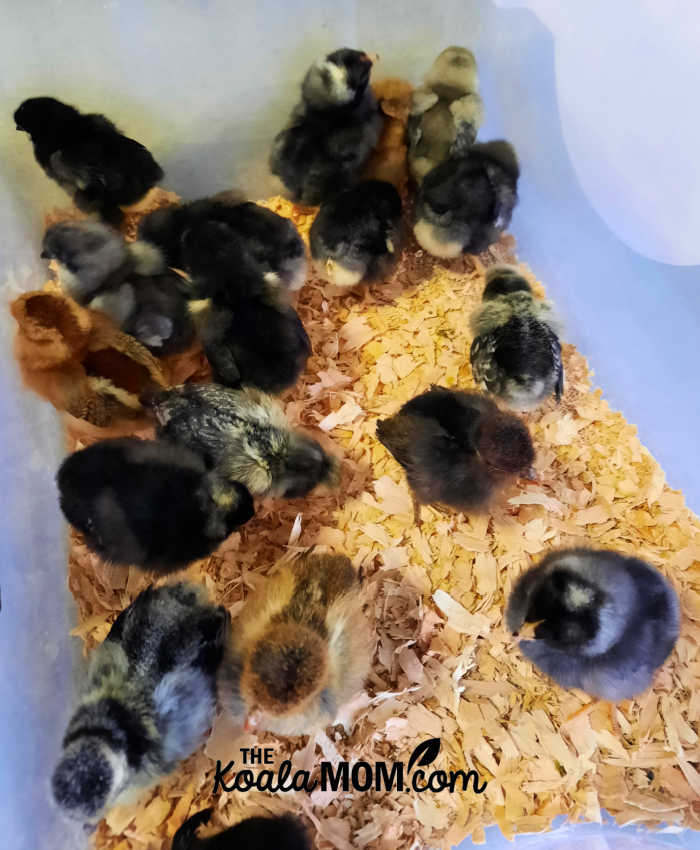
It was fun to meet the farm liaison again, along with everyone else who’d participated in the chick hatching experience, and to see all the little baby chicks together. The liaison told us that the average hatch rate for this round of eggs was about 3 out of 6, so we’d done pretty well. One family only got one chick from their 6 eggs, so I was glad that half of ours had hatched.
The chicks we hatched were all egg laying breeds. They’ll now go back to live on the farm and grow up to lay their own eggs.
The farm also provided us with the opportunity to keep the chicks we’d hatched and simply return all the equipment. If you live in an area that allows backyard farming, this could be a great way to get started!
More about the Chick Hatching Experience
Our chick hatching experience cost about $150 for the equipment and eggs. I also paid a $200 refundable deposit for the equipment, which I got back once we returned everything clean and dry (and not destroyed by the preschooler or the cat).
I really appreciated the detailed instructions provided by the farm for the care of our chicks. The farm liaison was also available via text or email if we had any questions or concerns about our eggs or chicks. The health and well-being of the chicks was clearly a top priority.
If you’re interested in a chick hatching experience for your home or school, just search “chick hatching experience” with your city or state and see what comes up. There are several farms and companies across Canada and the US that now offer this experience. It’s super fun and easy and a great hands-on learning process for the children.
Another fun spring homeschool science project is raising painted lady butterflies.
Fun-a-Day has some great books and activities about eggs and chicks.
Have you ever tried a chick hatching experience? How did it go and what did your children think about it?
One Response
My daughter did that with my granddaughters. They got the eggs from a friend and they purchase the incubator . They only got 4 chick but one died right away. It was such a great experience , the children were home when they hatch.