Back to school season is upon us! In the midst of ordering school supplies, planning extracurricular activities, and squeezing in some last-minute summer fun, don’t forget to capture this stage in your child’s life by taking some back-to-school photos. I’ve got five tips to help you capture the best photos, plus a great way to show off your photos with Fracture.

I received credit with Fracture and compensation for this post; all opinions expressed are my own. This post contains affiliate links; as an Amazon associate, I earn from qualifying purchases.
1. Shoot back-to-school photos the day before school starts.
You don’t have to take your back-to-school photos the morning of the first day of school. Take photos the day before (or even earlier) to avoid feeling rushed and stressed. Nothing ruins a photo shoot like a distracted child or a time pressure. You want to be relaxed and casual. Give yourself time to just hang out with your children and capture them at their best.
After capturing those special moments, you can use a profile creator to design stunning profile pictures for social media or keepsakes. These tools allow you to enhance your photos and create personalized visuals that stand out. You can also add extras like the date, your child’s grade, or other fun facts.
2. Plan your props ahead of time.
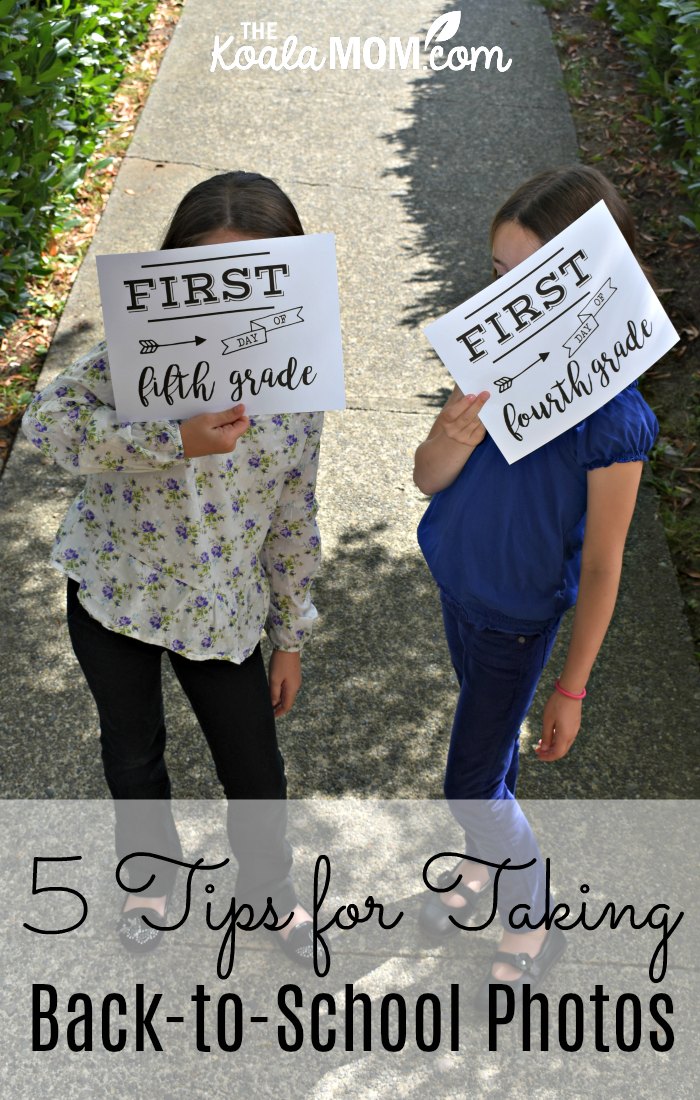
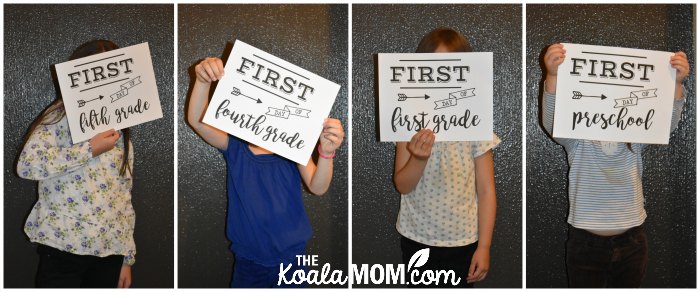
The classic back-to-school photos include a sign about which grade your child is entering this school year. There are tons of printables available online, for free or a small fee if you want to customize yours. If you want to include these, choose and print them ahead of time to avoid stress or hassle on the day of picture taking (especially if you happen to be out of ink or paper… just sayin’!).
I printed ours on cardstock to make them more durable for the girls to hold. Other moms use a simple black frame in which to put the signs. Another fun idea is to use a letterboard, which is easy to reuse for each child (or each year).

Other back-to-school photo prop ideas include:
- vintage school desks
- apples
- pencils and other school supplies
- books and binders
- glasses
- backpacks
- blackboards or chalkboards
Think about what your child commonly uses in association with school. If you’re homeschooling, take the photos next to your chalkboard or whiteboard, or the wall map, or your bookshelves. If your child has a new backpack or school uniform, have them model those for photos.
3. Include younger siblings in the back-to-school photos.
Even if a younger sibling will be staying home or going to daycare instead of school, include him or her in the photo shoot. This year I have three kids in school (and Jade is very excited about that!) but I included two-year-old Pearl in our photo shoot too. She might not know what school is, but she wants to do whatever her sisters are doing.
4. Try different angles and locations.
I took all our back-to-school photos around our condo, but I tried several different places. We shot a few pictures in front of the door for that “leaving now” feel. Then we went outside, where I took more pictures on our front sidewalk. The light there wasn’t the greatest, so we went around to the side of our condo. The girls had fun climbing in the trees, which let me play with angles. I also took pictures of the younger girls just sitting on the grass by our hedge, but I made sure to get down at their level when taking the pictures.
Be creative with where you take your pictures. You don’t need a huge space or a fancy background to get great photos. I was surprised that just by changing the camera angle or zooming in a little bit, I could make sure the gas meters or the windows on the side of our condo were out of the picture. Watch your kids play and ask them for creative ideas. Where do they want to take pictures?
I also thought our playground would be a fun place for back-to-school photos, but we didn’t have time to go over there. If you live near your school, you may be able to drop by and take some pictures outside before the craziness of classes starts. Browse Pinterest for inspiration and ideas before going out.
5. Print and share your back-to-school photos!
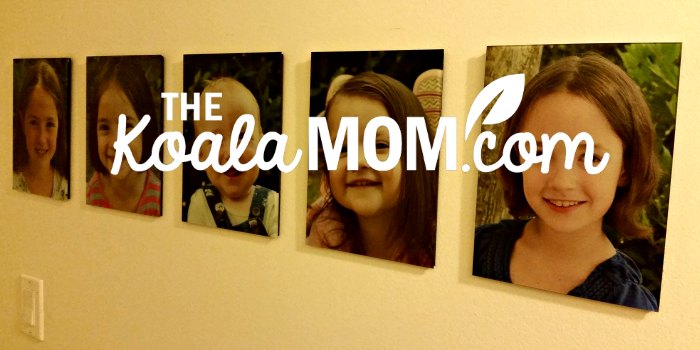
Now that you’ve taken all these great back-to-school photos, share them! A Fracture print is a great way to show off your child’s milestones. Fracture prints your photos right on glass for a beautiful, timeless look. It’s super easy to upload your photos to the website, choose the size and orientation you want, crop your photo, then order and wait for them to arrive!
After I took all our back-to-school photos, I spent a few hours on the computer choosing pictures. I always take lots because I end up deleting so many pictures where one of the girls is blurry, blinking, or not looking at the camera. I could create a gag reel of their funny expressions, especially in group photos! I finally narrowed it down to the best photo of each of them. I decided to print their headshots. I really like faces, as this is what changes the most as they grow up.
When my Fractures arrived, I was so excited to hang them up. They look even better in real life than they do on the website. I choose the 5×7 size for individual photos and also included a square photo of all of them. We don’t have any other square photos on our walls—it’s kind of an Instagram thing—but it worked well for one of the pictures I’d taken.
Fracture prints are mounted on a rigid backing that includes a screw hanger. They arrived carefully packaged in cardboard, with their screws. We used a level and tape measure to space our five prints. Then it was easy to install the screw in the wall and hang our Fractures.
Do you take back-to-school photos? What tips would you share?


No Responses Yet