My grandma’s fridge was always covered with magnets. As a child, I loved reading them all when we visited or finding the ones that we’d gotten for her. Now, my own fridge is covered with photos, kids’ artwork and various magnets. So I thought the girls could have fun creating magnets to add to someone’s fridge.

Supplies needed (affiliate links):
- salt dough (or wood shapes or Crayola Magic Clay)
- magnets
- acrylic paint
- glue and varnish
We’ve made magnets in a few ways. For this craft, we made up a batch of salt dough to cut into shapes and use for the magnets. The girls also made a few magnets with a package of Crayola Magic Clay that someone gave us, which is a bit easier to work with and dries softer and quicker.
Other times, we’ve also painted simple wooden shapes (which takes out the modeling and waiting for them to dry stage) for magnets.
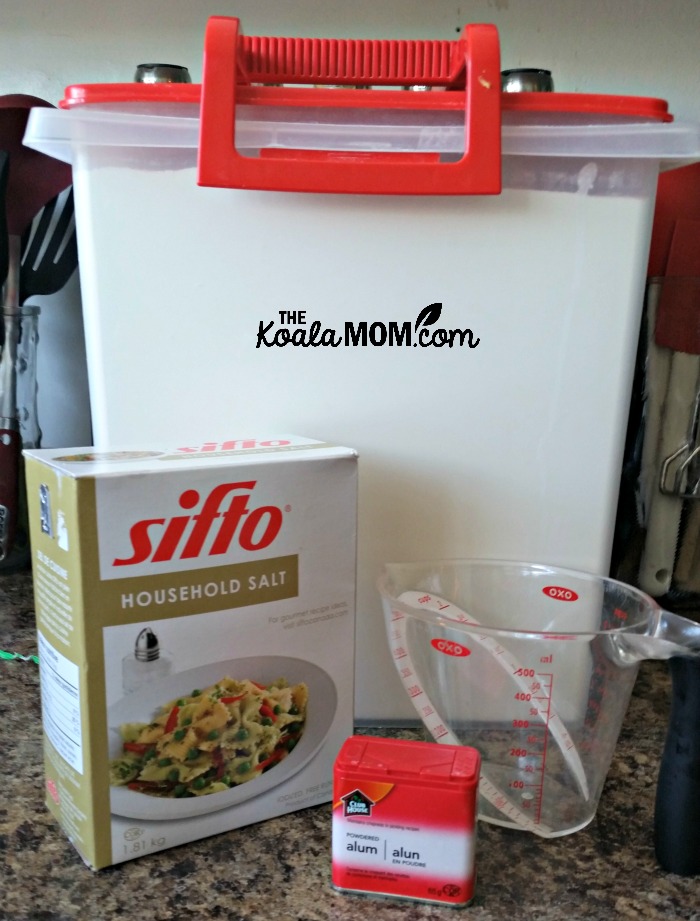
Sunshine helped me mix up the batch of salt dough. We also added about 1 tsp of alum to the recipe, which is supposed to help preserve them. I find that baking always takes longer than the recipe says, but you can also let them dry on their own (if you have a week or a month to wait).
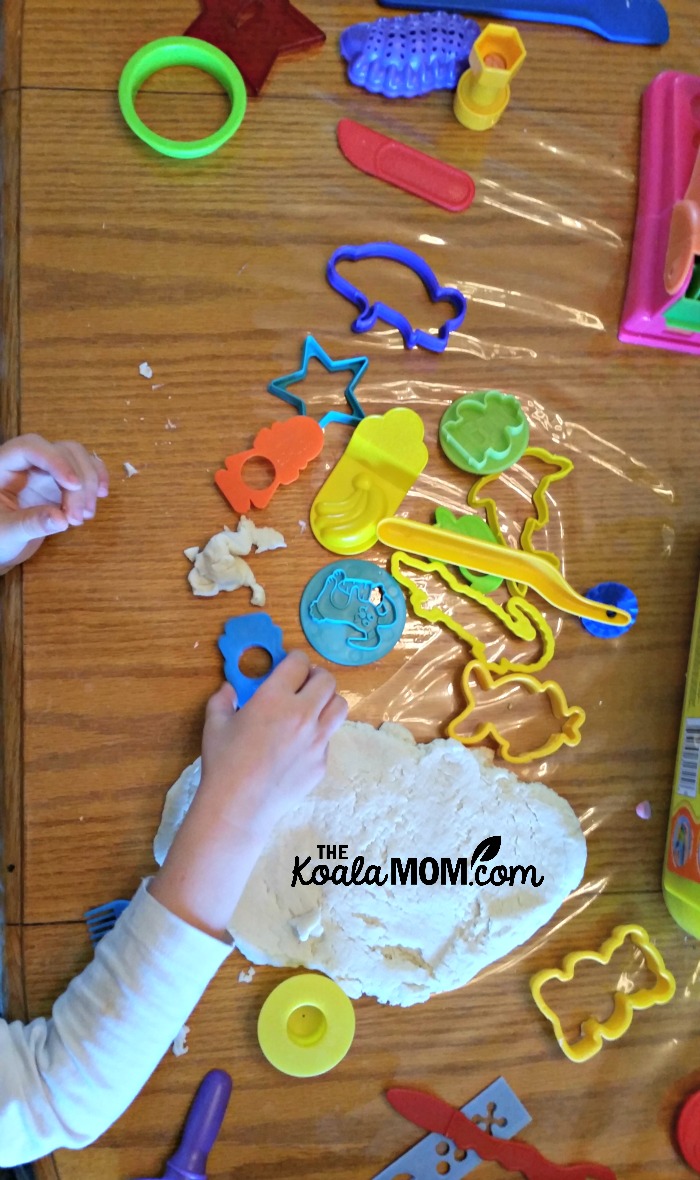
Then we assembled the play dough tools and cookie cutters and went to work creating shapes. From past experience with both salt dough and magic clay, I helped the girls pick out the smaller cookie cutters and shapes and roll out their dough fairly thin. Bigger shapes or models take longer to dry. And since these were going to be magnets, I wanted them to be light (and not constantly slide down the fridge).
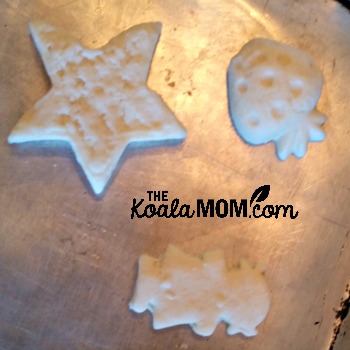
We arranged the finished shapes on a cookie sheet (you can put them quite close together as they don’t rise). I baked them and then we ended up waiting about a week before the girls painted the shapes.
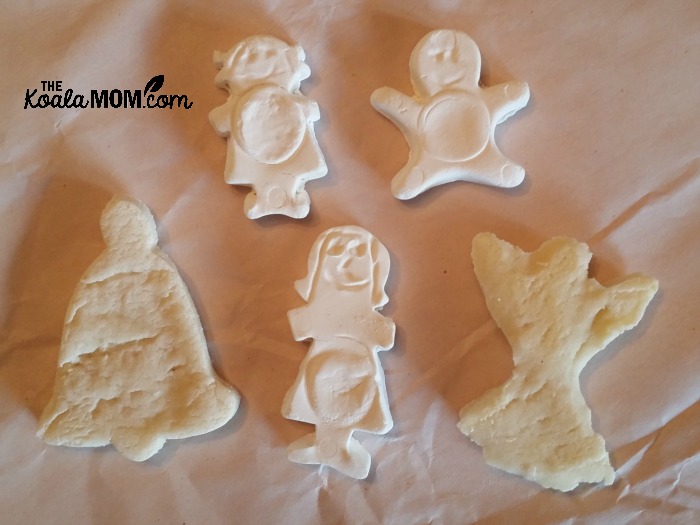
The Magic Clay doesn’t need baking but dries on its own. These small shapes dried overnight, I think. Here’s an idea of the difference between the shapes made with each (the three dolls in the middle are made with Magic Clay):
The girls like painting (as you may have noticed) and made short work of decorating all the figures they had created. I was quite pleased to see some fruit of their art classes this semester in that they actually began mixing colours to create other colours they wanted for their shapes, like orange and brown and different shades of pink (because of course one shade of pink is not sufficient).
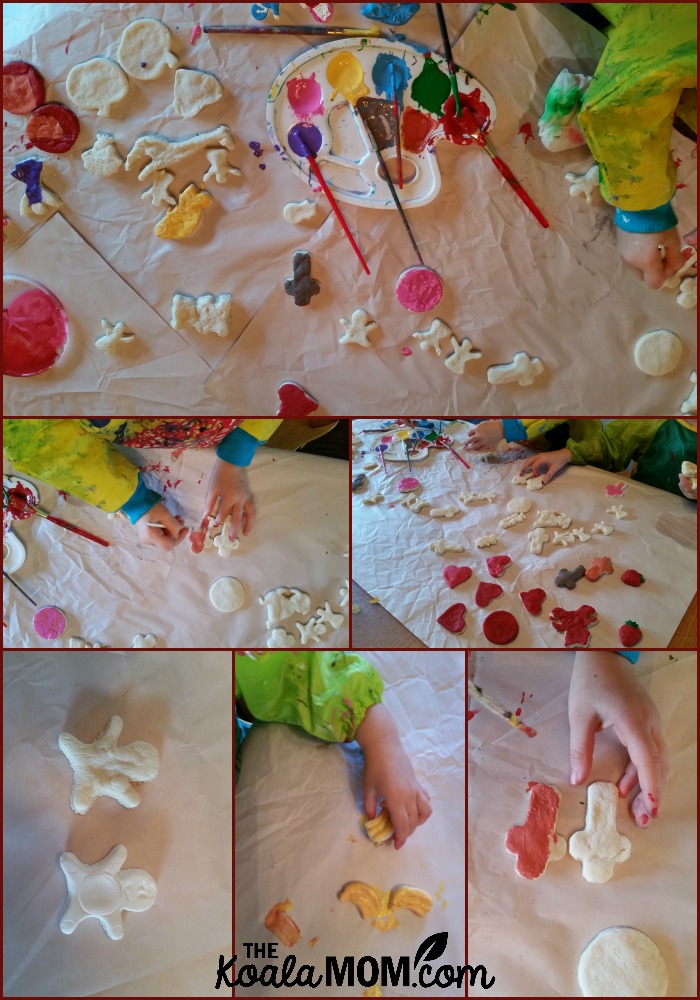
We let the paint dry and then I had the girls touch up the paint on a few and add details to others—like spots for a giraffe and dots on the (ahem) Christmas trees (yes, we did start on some Christmas crafts too!). I also got out the glue and they painted glue onto some ornaments, then sprinkled on glitter. Jade had a lot of fun with this…
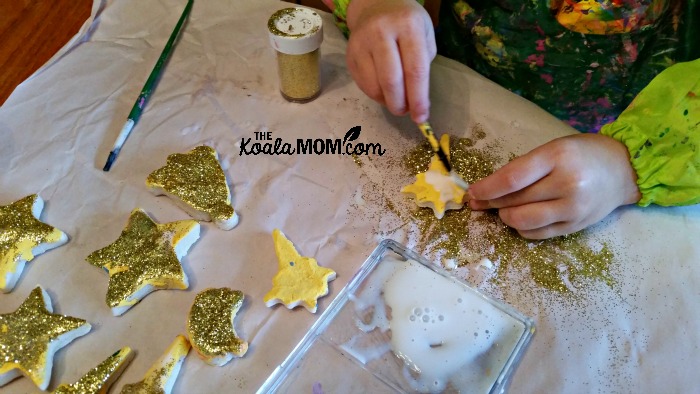
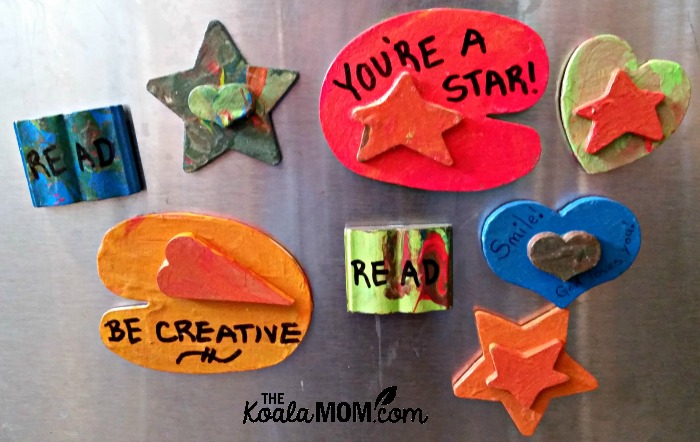
Once the paint and glitter dried, I varnished them with spray varnish. This step is optional, but I think it helps the magnets last longer (and the glitter stay on the magnets instead of falling all over the house). Then I used a permanent marker to decorate some of the girls’ magnets with little sayings.
Finally, we glued magnets on the back. For the wood magnets, I was able to use white glue:
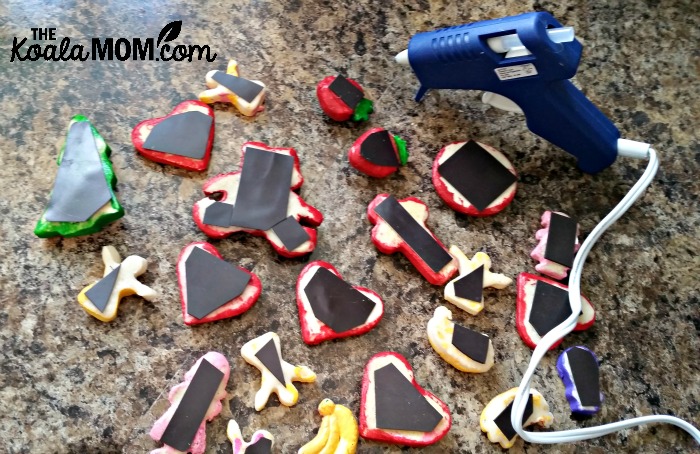
For the salt dough magnets, because they didn’t dry quite as flat, I ended up using a hot glue gun. I bought some magnets this time, because we were making so many, but other times I’ve simply recycled magnets from our own fridge (you know those magnets you get advertising the local plumbing guy that you’re never going to call? Yeah—glue it to something else and thank the plumbing guy for the craft supply).
Cost: $5-20, depending upon supplies used
Difficulty: easy (suitable for ages 2+)
Salt dough magnets are an easy craft to adapt for any holiday, from Christmas to Valentine’s Day to Family Day.

No Responses Yet